|
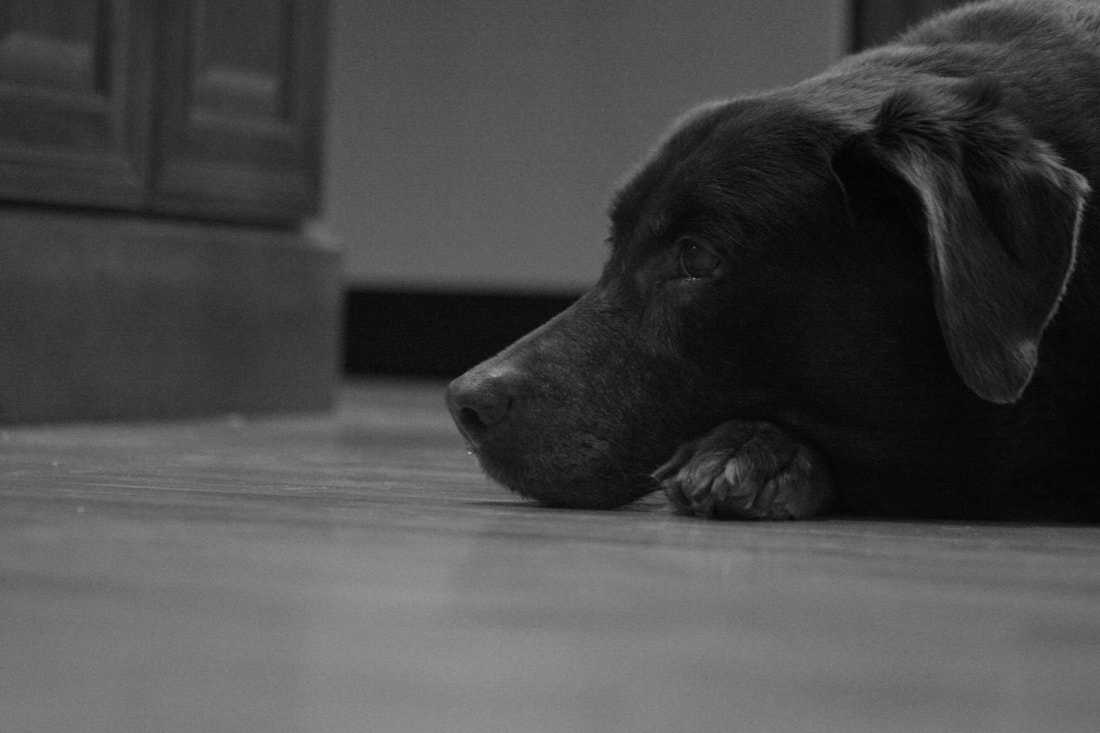
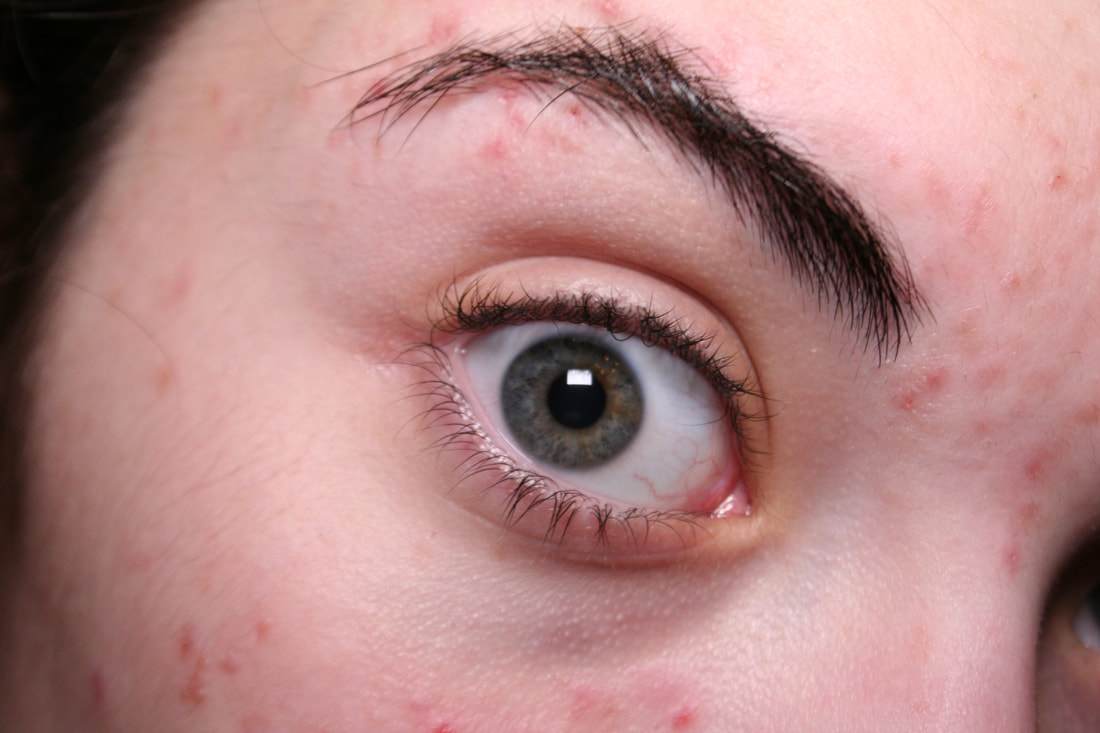
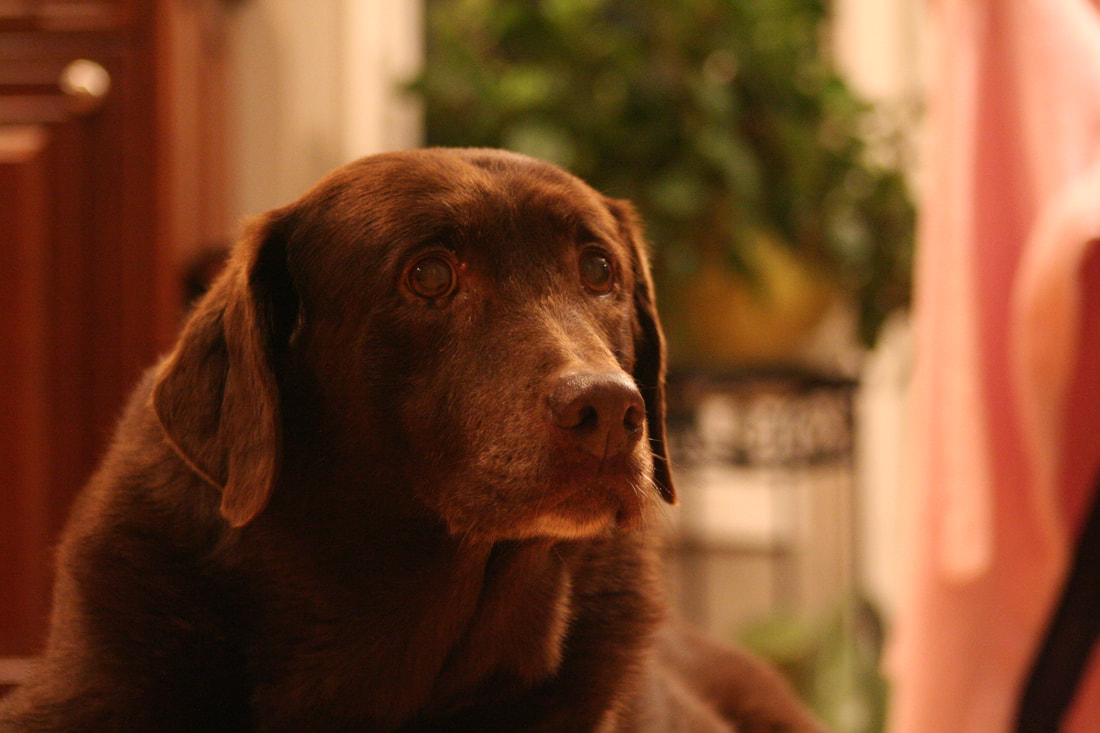
Over the course of the trimester I've come a long way. It's been really neat to see how much I've grown as a photographer and how many skills I've acquired as a result. At first, I was completely hopeless at photoshop but after working with it so often I've learned how to do so many cool things and I really discovered a passion for graphic design and photo editing. I'm fascinated with all the different photo effects and tutorials that are available, and I'd really like to continue working with photo editing software as a hobby. An example of what I've been able to do with photoshop. I'm typically a pretty organized person, but as a photographer, I rarely have a plan in mind when I go to take pictures. Usually I'll only have a general idea of what I want to do, and then I'll work backwards to find and interesting subject and set it. I enjoy taking pictures of objects and scenes, rather than people or animals. I like to experiment with composition and arrangement in order to create an interesting and unique scene and bring a different perspective to whatever I capture. I have a tendency to fill the entire scene with my subject, often cutting parts of it out of frame to create a mood of full immersion with the object of attention, and make it crystal clear what the viewer is supposed to focus on.  An example of the frame filled by the subject. I've taken many art classes, so I understand the basics of the rules of composition and how to use them. However, my art skills are mostly limited to 3D mediums, so I was excited to try honing my artistic ability with flat images and pictures. Compressing a 3-dimensional scene in the physical world down to a 2-D photo is quite a jump, and I struggled sometimes with trying to best represent all the elements of a setting. I really had to focus on keeping my scene clear and uncluttered, because it really irks me when photographers don't pay attention to how busy the background looks. This often leads to the surroundings becoming a distraction and takes attention away from the subject One of the first photos I took, where the background is very distracting and cluttered vs. a later photo, where the foreground is in focus but the background fades out of focus. Overall, I've noticed a lot of improvement in my abilities as a photographer, and I think that's really visible through a comparison of one of my first photos vs. the most recent taken. When I first started the class, I didn't really understand the camera settings or how to use lighting, so my photos were improperly exposed and the contrast looked awkward. However, by the end of the trimester, I think I've gotten much better at taking photos with adequate lighting and a vivid point of interest. Overall, I'm really glad I took this class, and I think I'd like to continue positing things I create to this blog even after the trimester is over. FINAL PHOTO BOOK
0 Comments
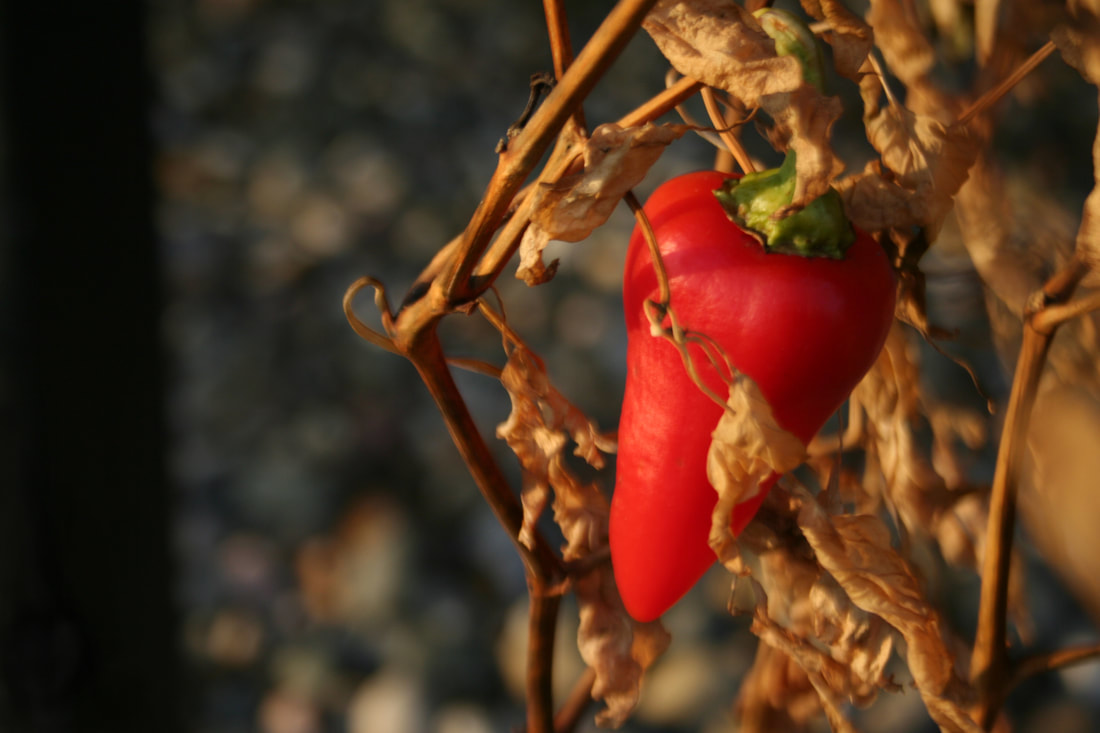
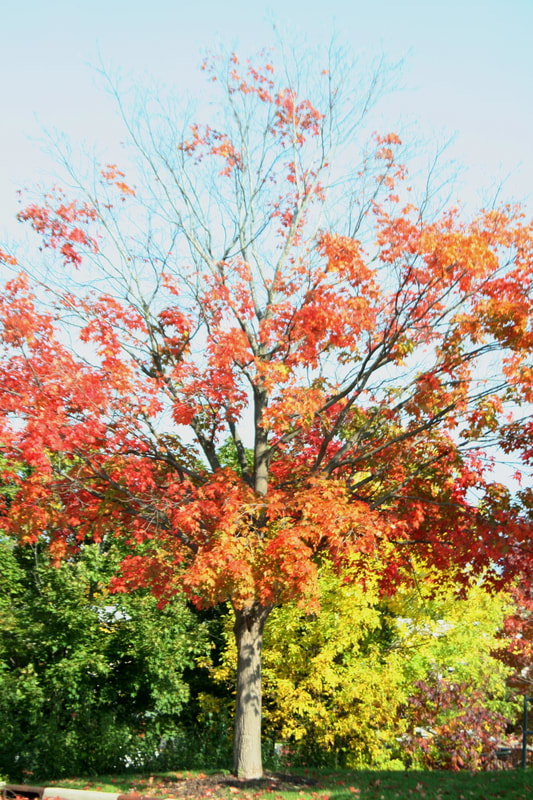
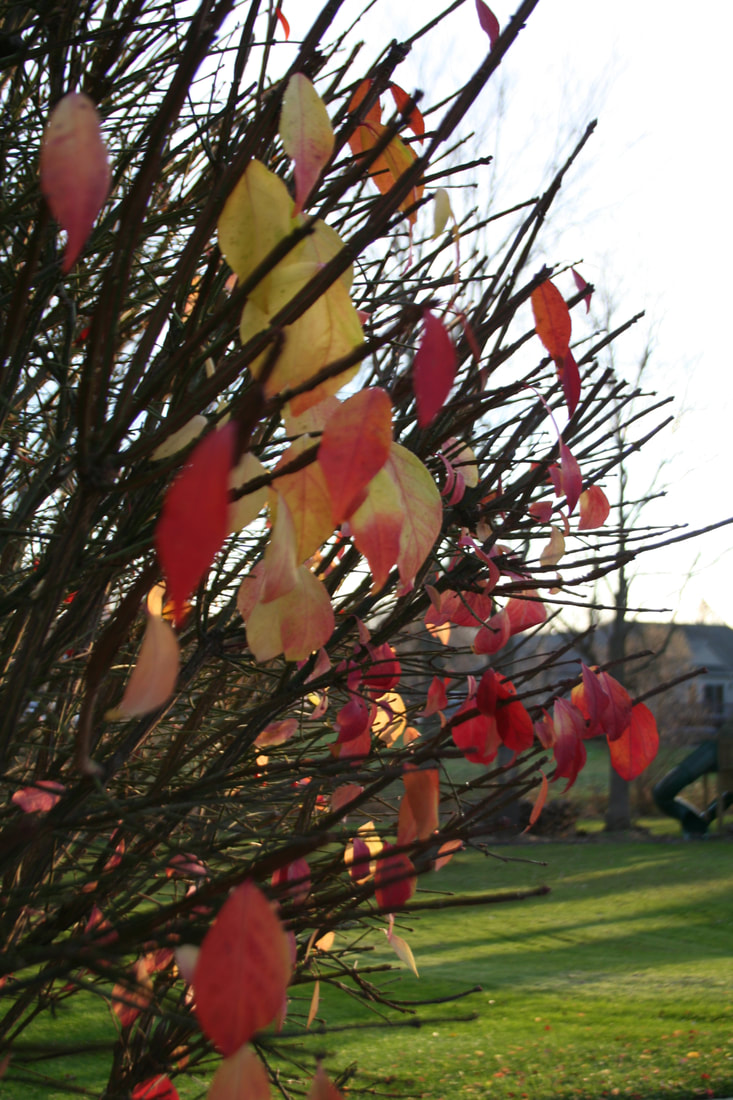
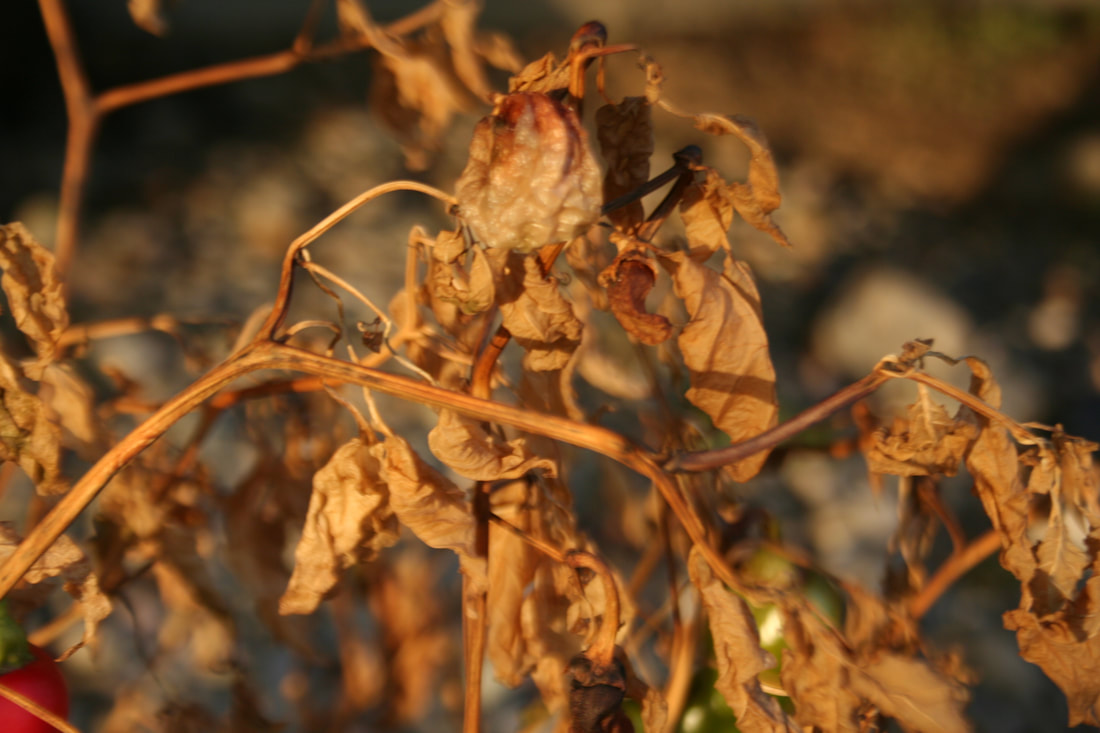
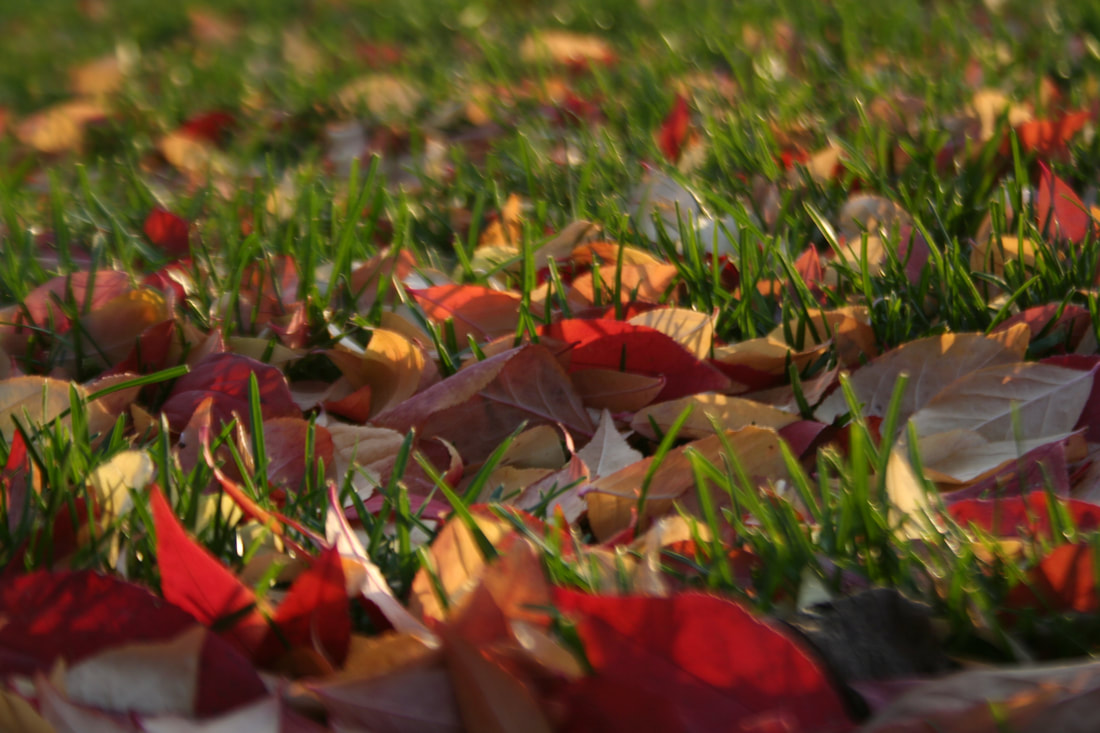
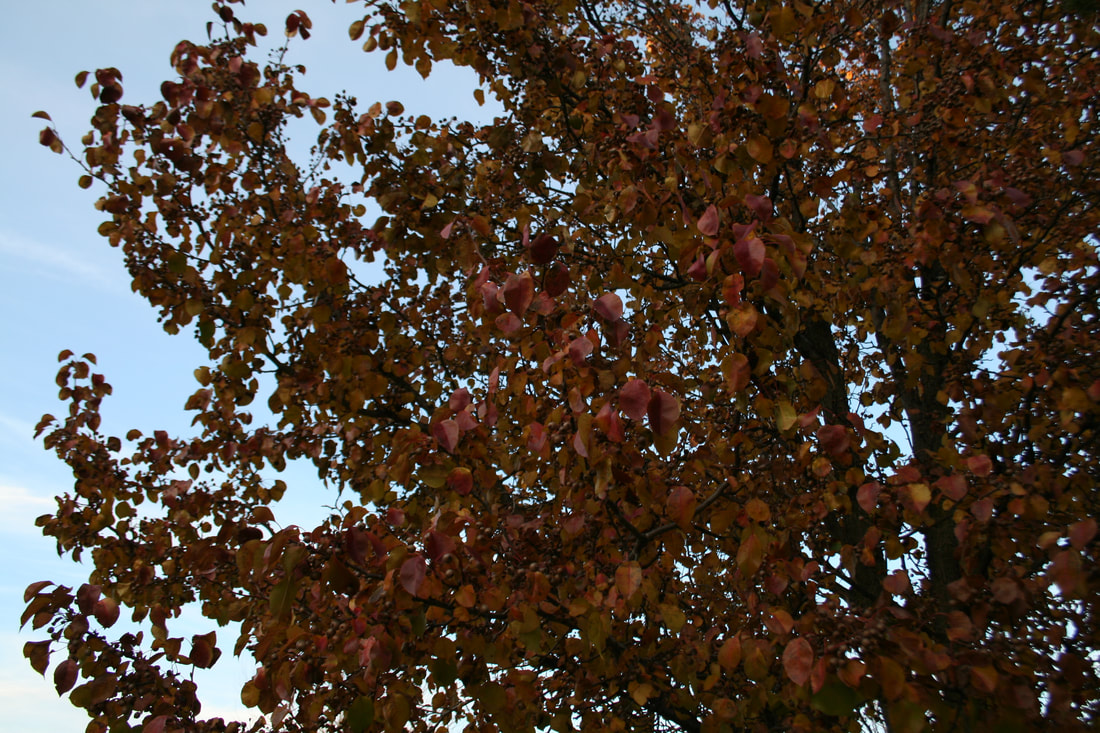
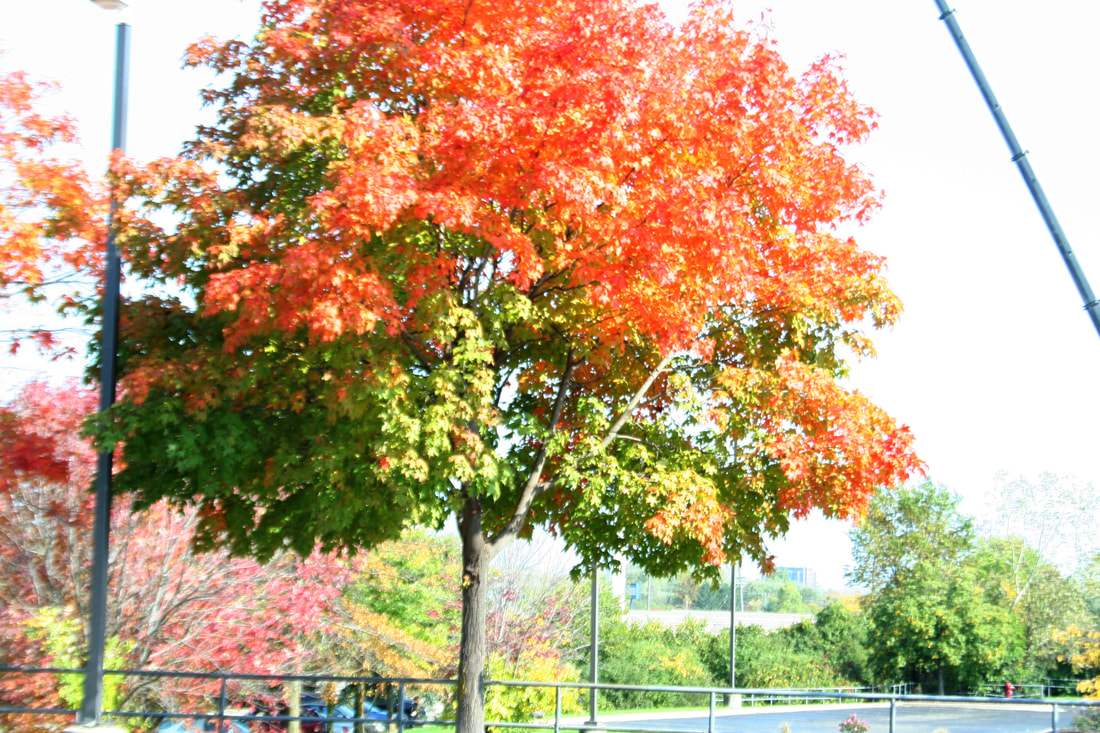
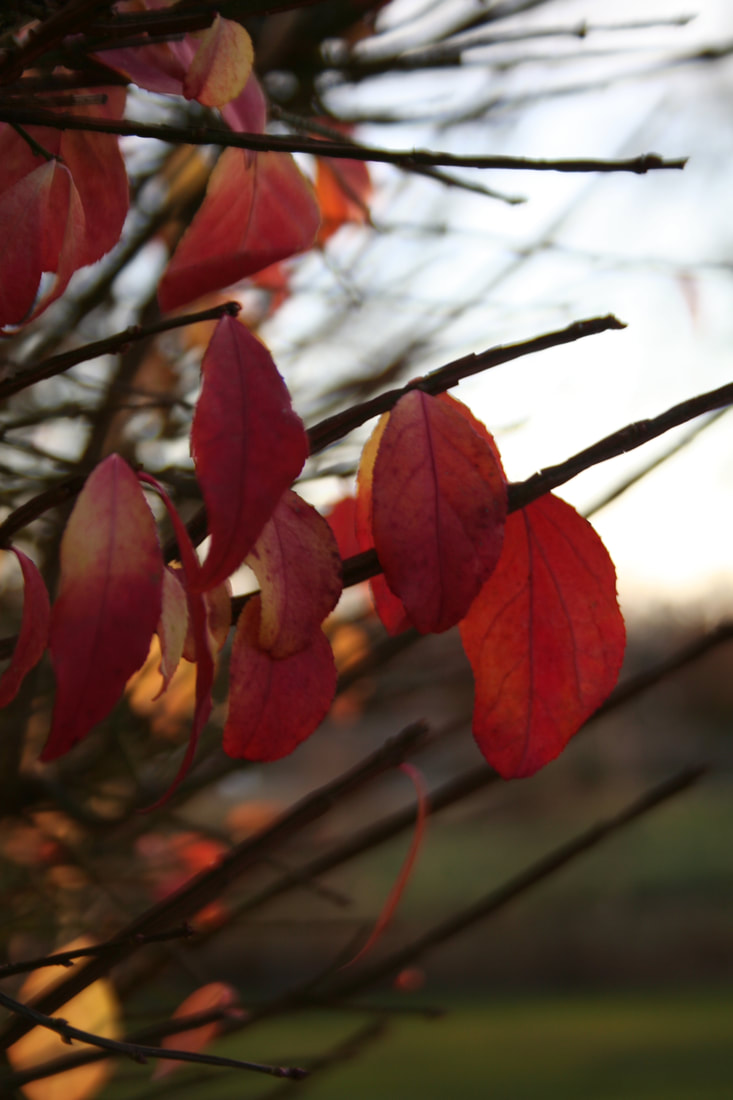
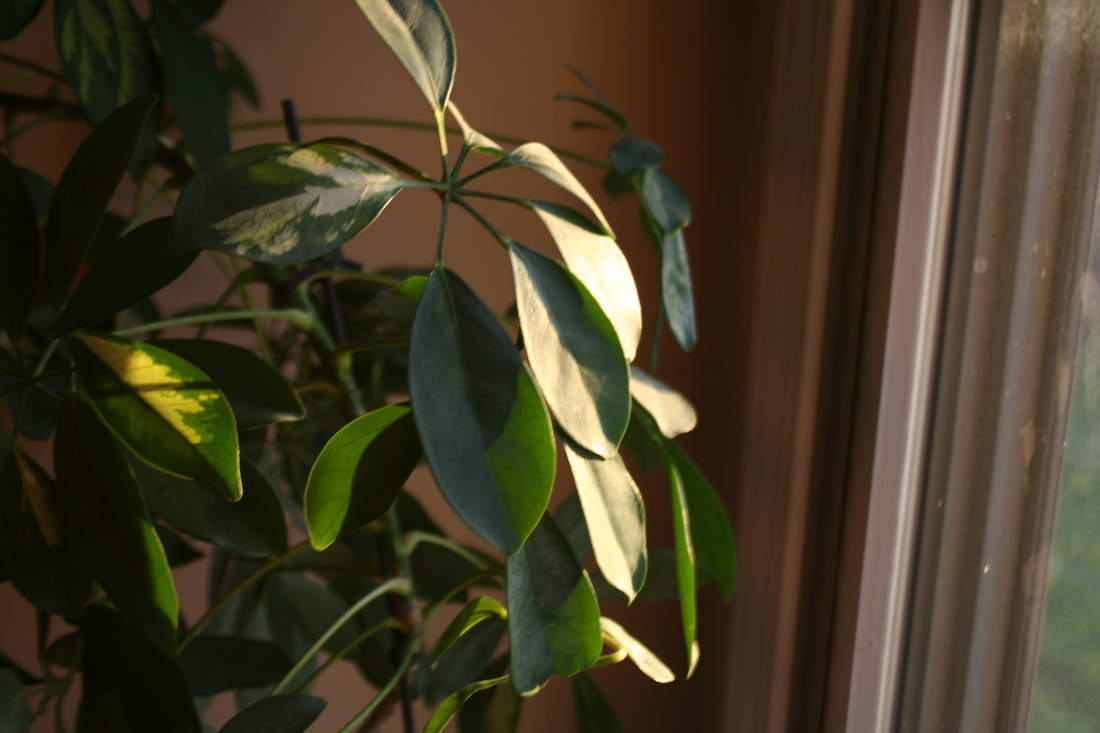
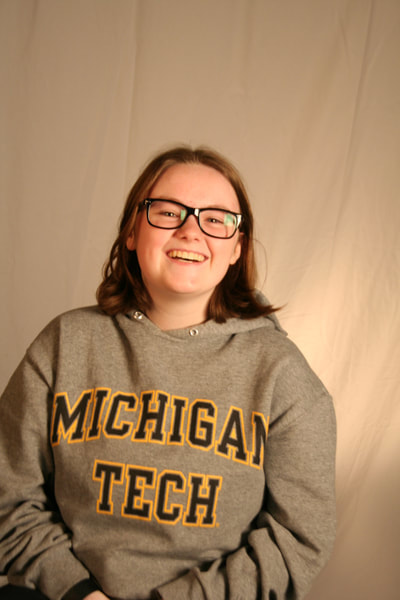
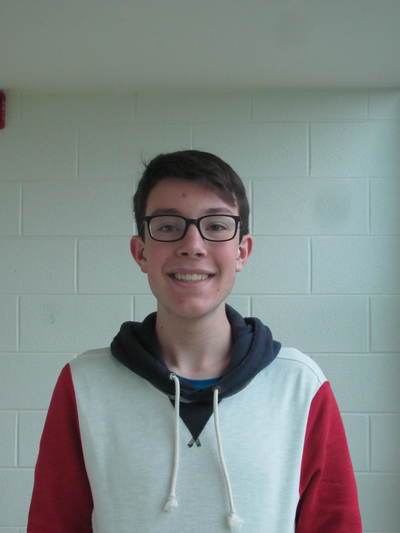
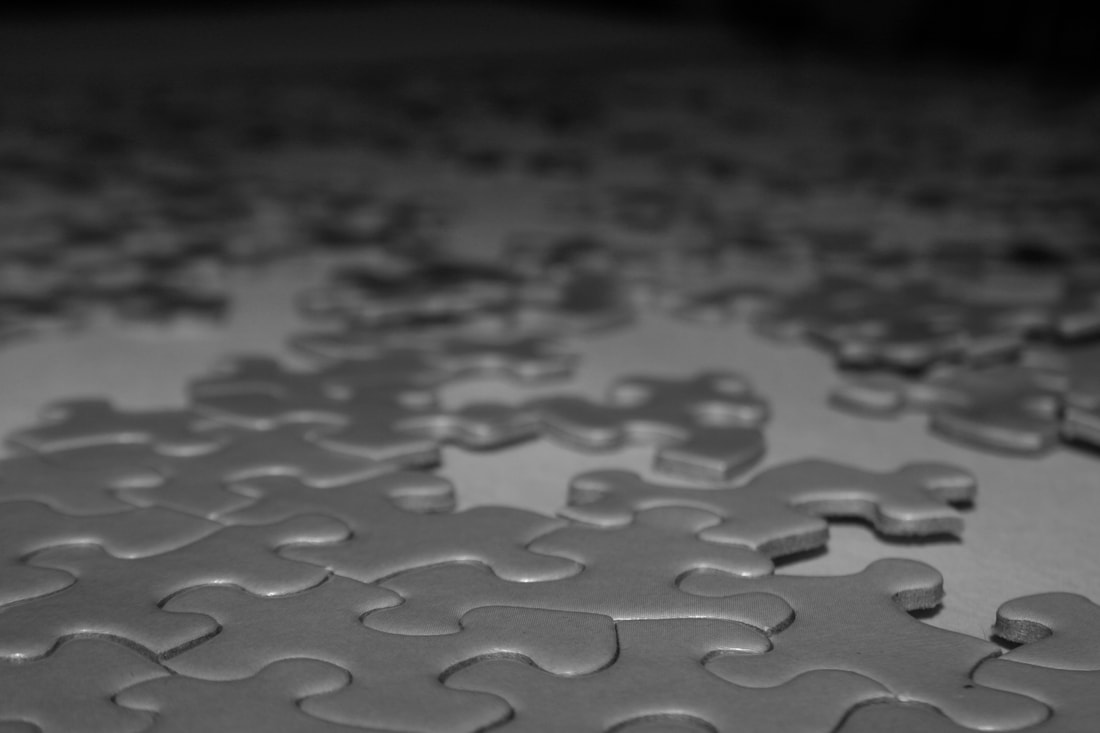
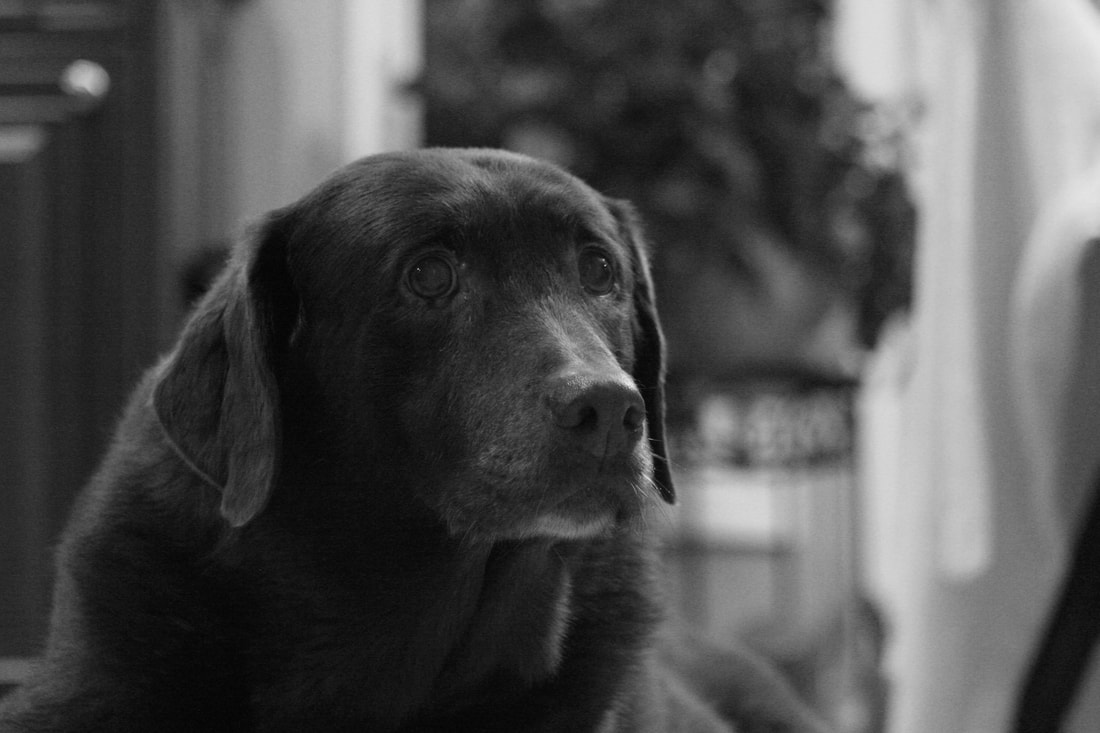
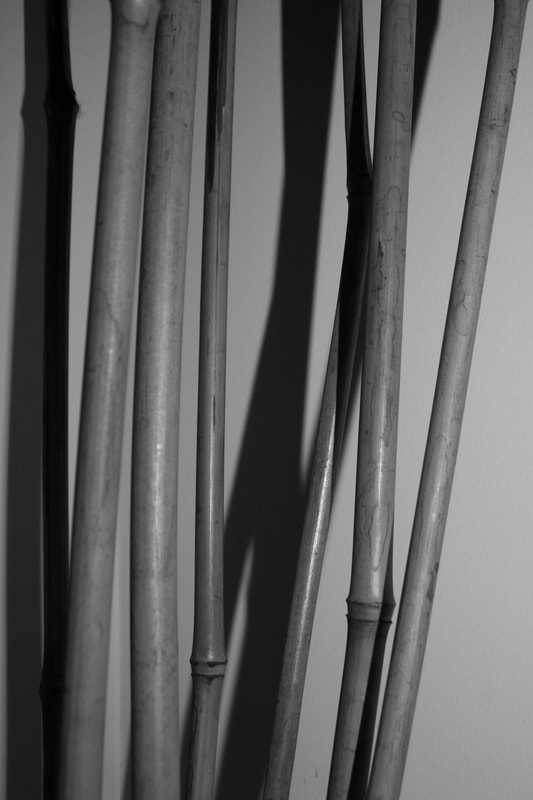
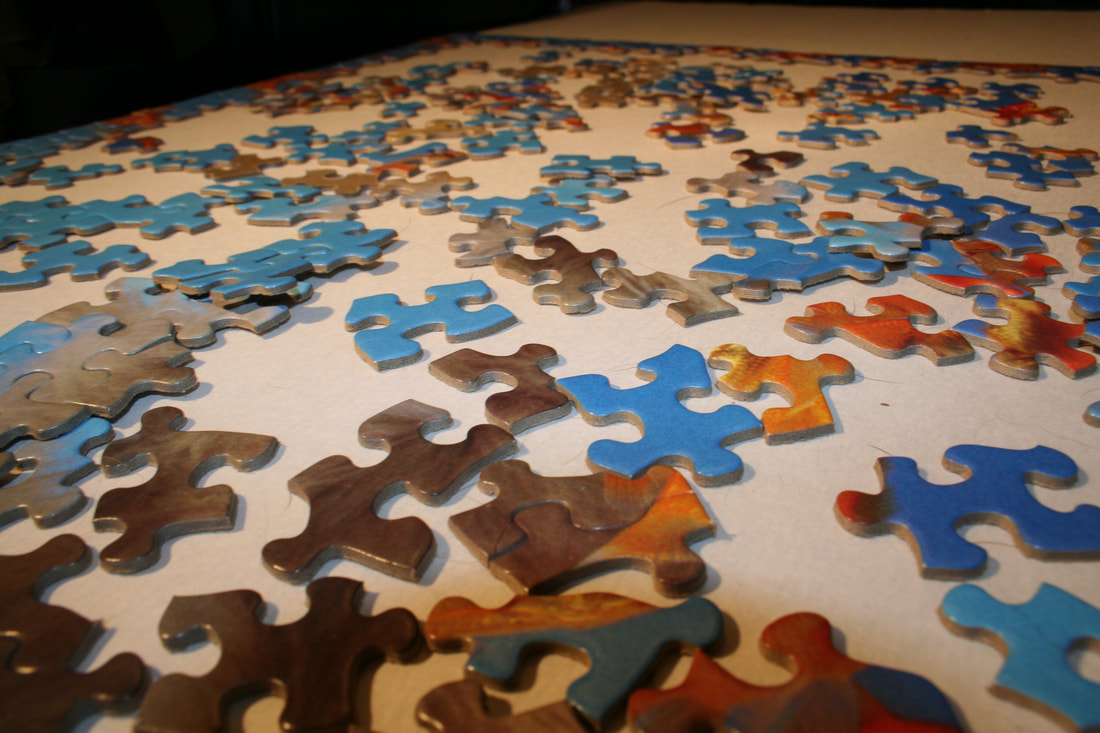
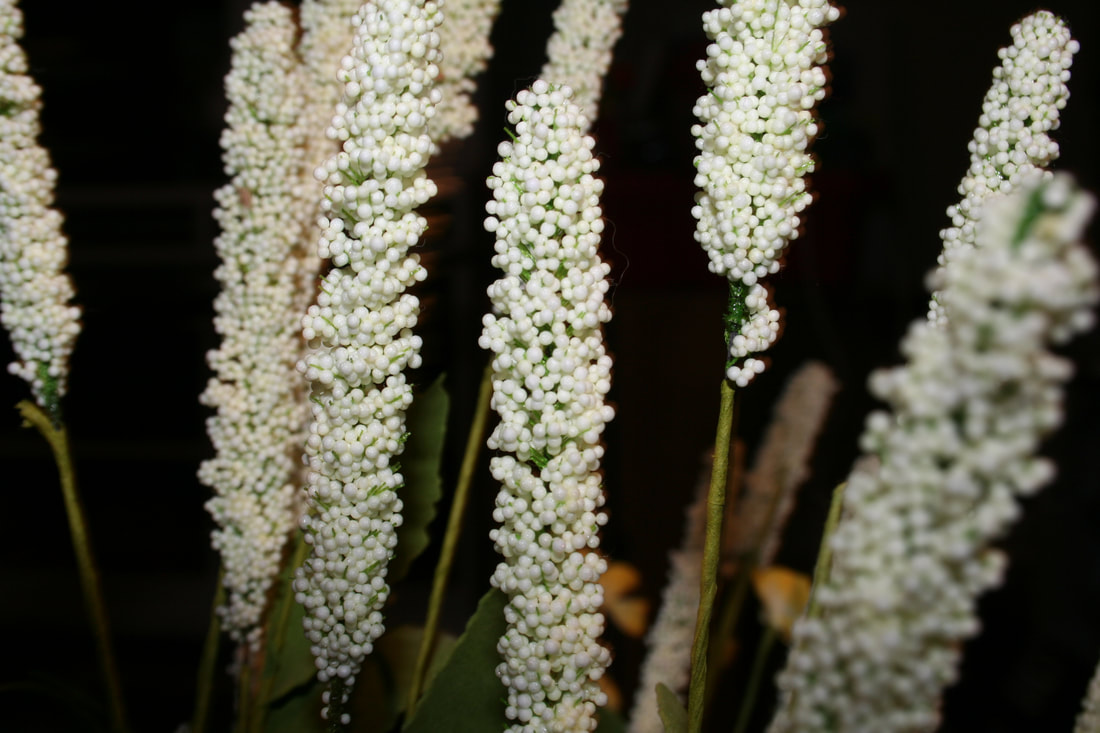
For our last two photoshop assignments we were instructed to create a set of puns and visual dictionaries. Some of the skills used in this assignment were the ability to use layers and resizing, and finding free online images to stitch together into one piece. I had a lot of fun with this assignment because it allowed me to be creative and do what I wanted to do with photoshop. For the puns assignment we had to combine images to visually depict a pun, and for visual dictionary we choose a word and had to symbolically represent it through a composition. 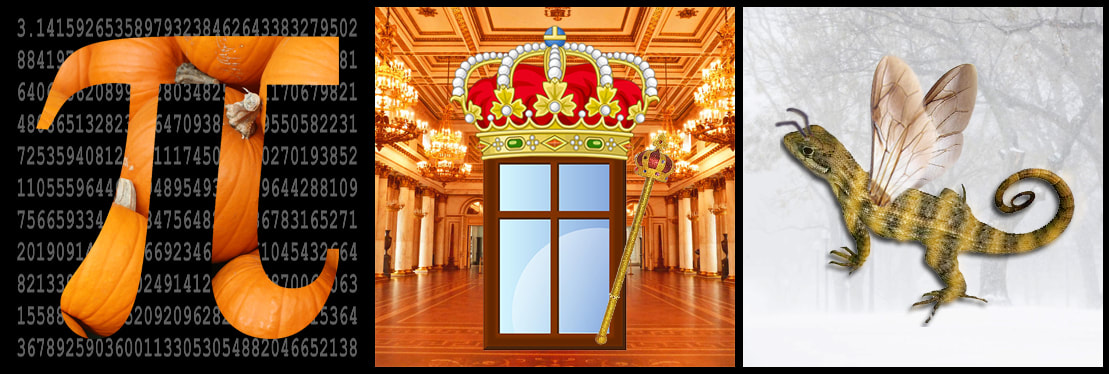 PUNS: 1. Pumpkin Pi(e) 2: Royal Pane (Pain) 3. Bee Lizard (Blizzard) Visual Dictionary: Serene & Papaphobia  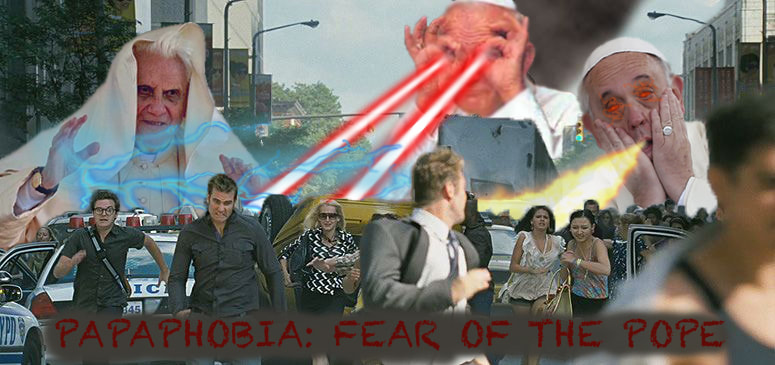 For our last shooting assignment, I was debating whether to focus on nature or light/shadows. I went outside as the sun was setting to take pictures of the light on different objects, because I thought it looked really pretty. I ended up taking photos of lots of plants and leaves because of their beautiful colors, and decided to submit my photos for nature instead of light/shadows.  Finished Product Photoshop done: Cropped image to remove some distractions on the right and erased a stray white spot on the left. 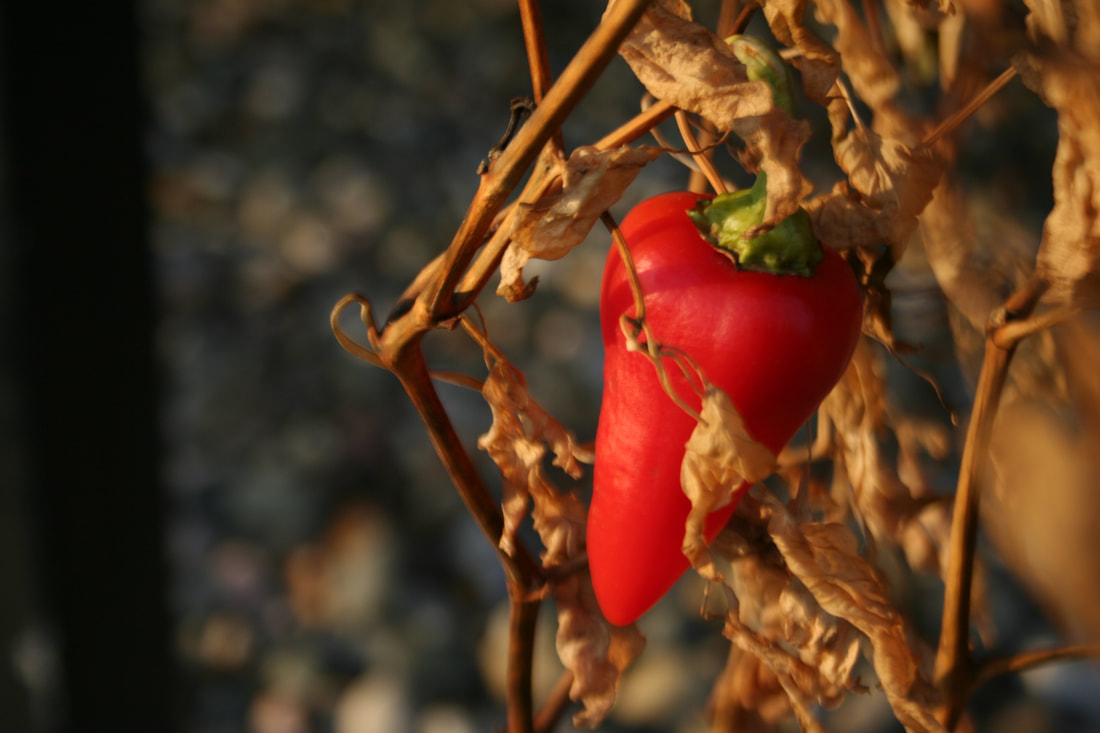 Original Image Shutter Speed: 1/100 second Aperture: f 5.6 ISO: 100 Over the course of this class and through the shooting assignments, I have grown familiar with how to adjust exposure and manipulate lighting in order to take a good photo. Understanding how a camera operates and how light behaves is crucial to taking photographs, and I am happy to have developed these skills. For this assignment we had to shoot portrait photos in two different lighting situations. The first scene was taken in a studio setting with artificial lights, and the second was taken by a window with natural light and a bounce card. I felt a little bit constrained by this assignment, as I felt that the typical portrait pose was a bit boring and I would have liked to have been able to add more head space. 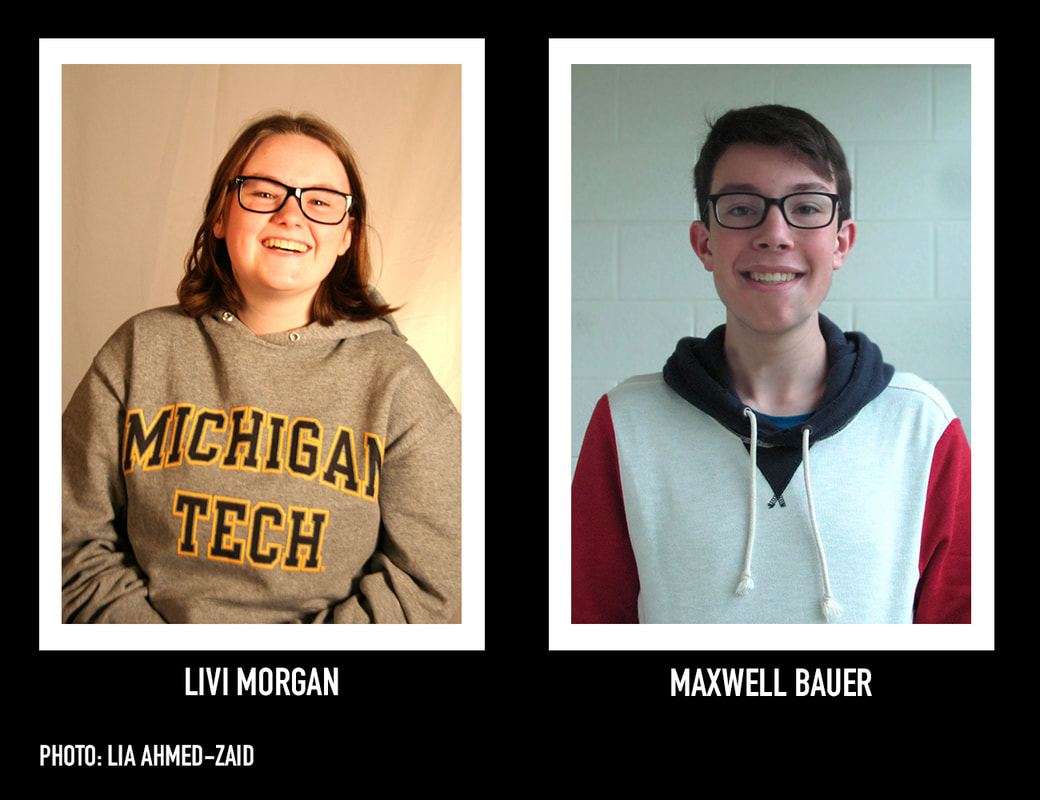 Final Product Original Images
From this assignment, I learned a bit more about how to adjust lighting and shoot optimal portraits, as well as how to use a bounce card. I feel like these photos could have turned out a bit better, because they're a bit blurry and the color is odd, but I'm mostly happy with the results.
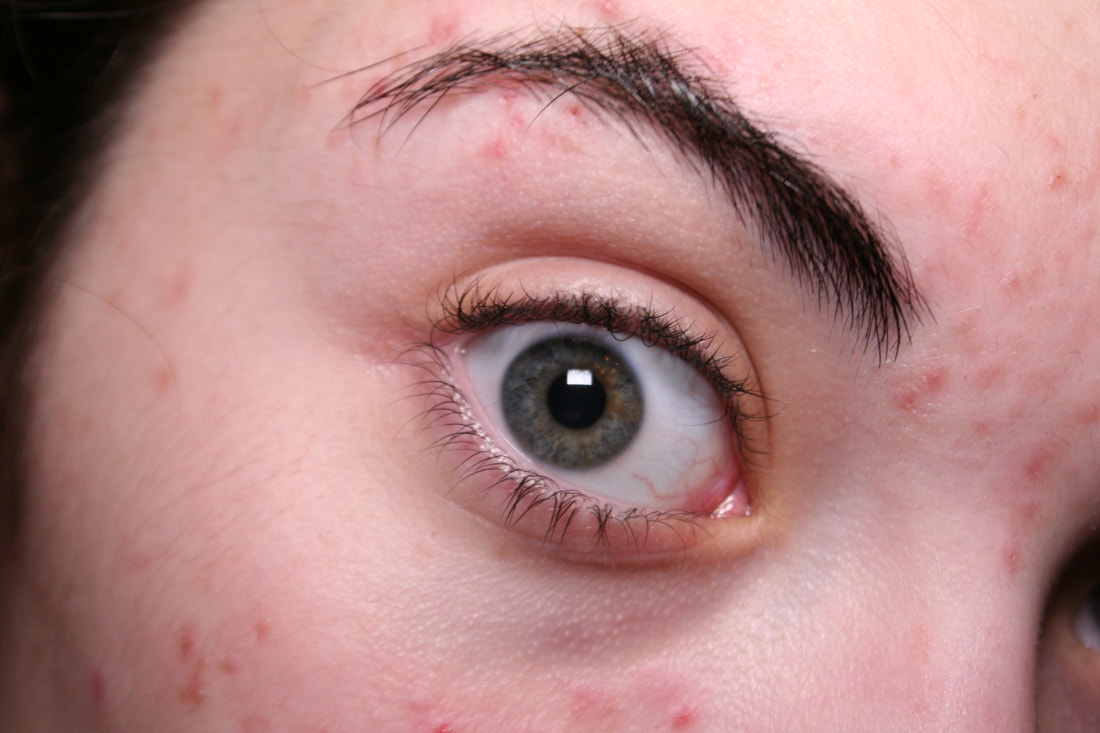
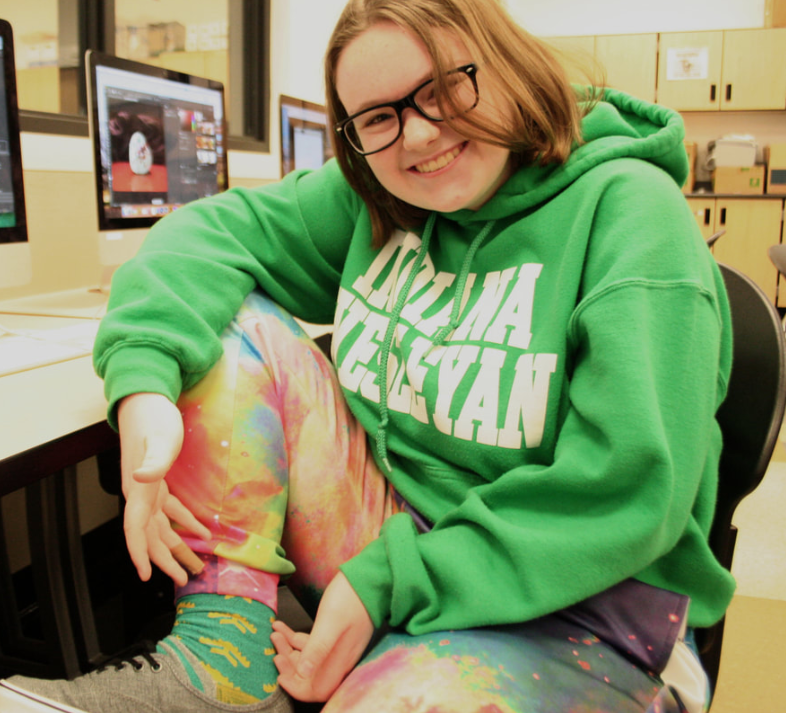
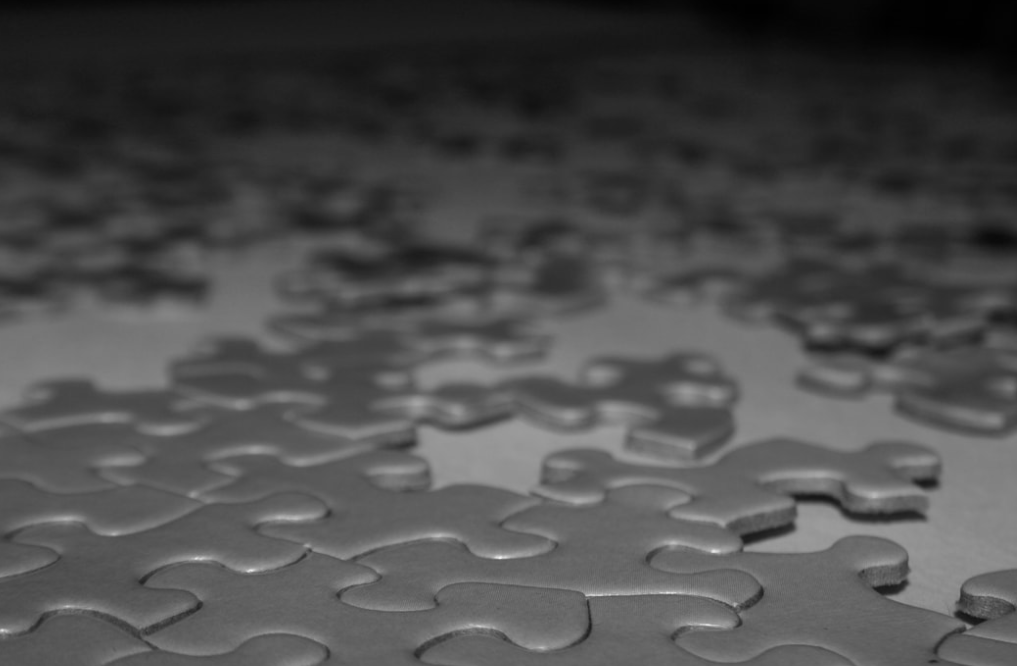
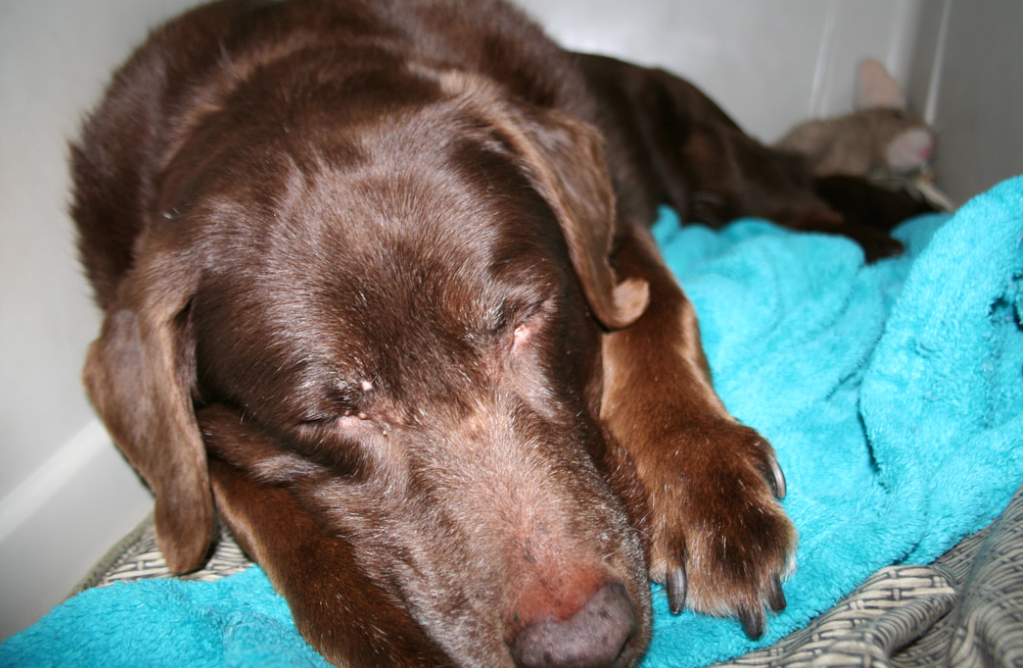
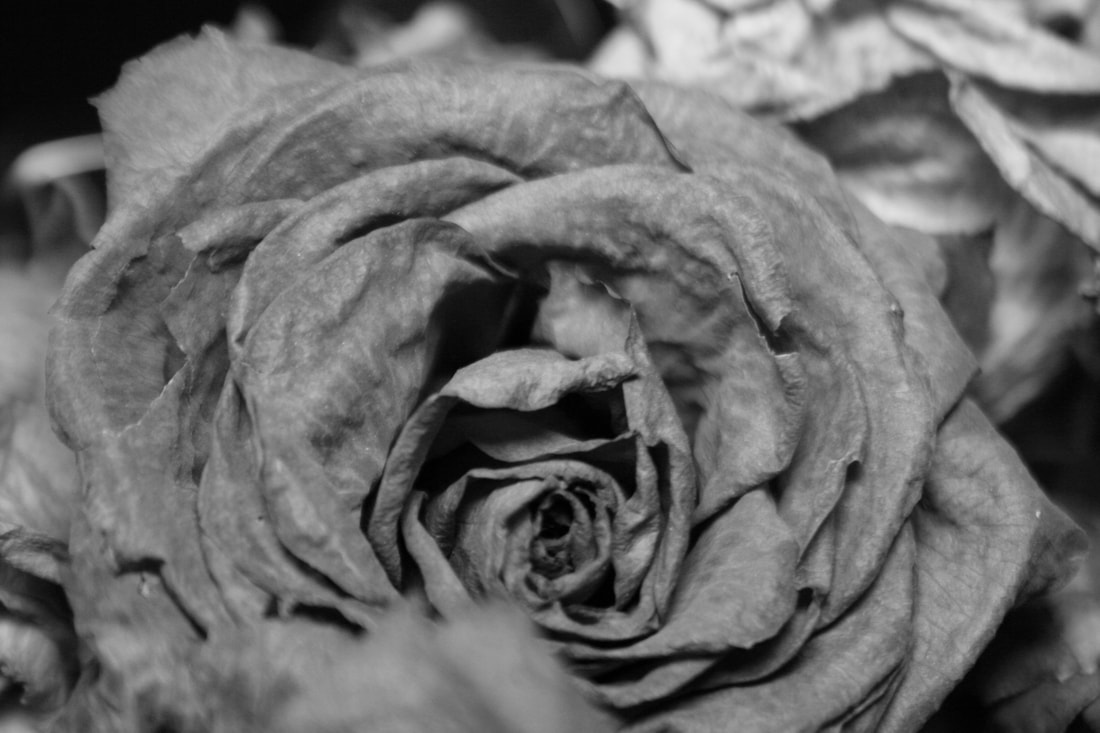
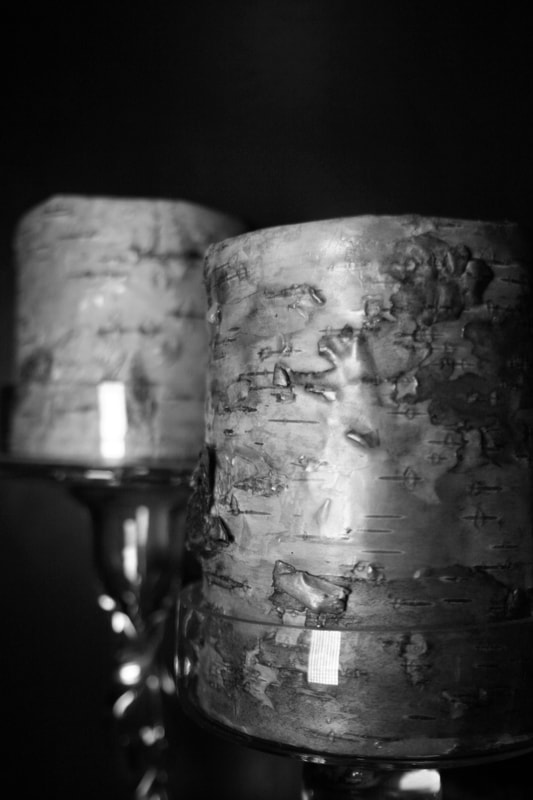
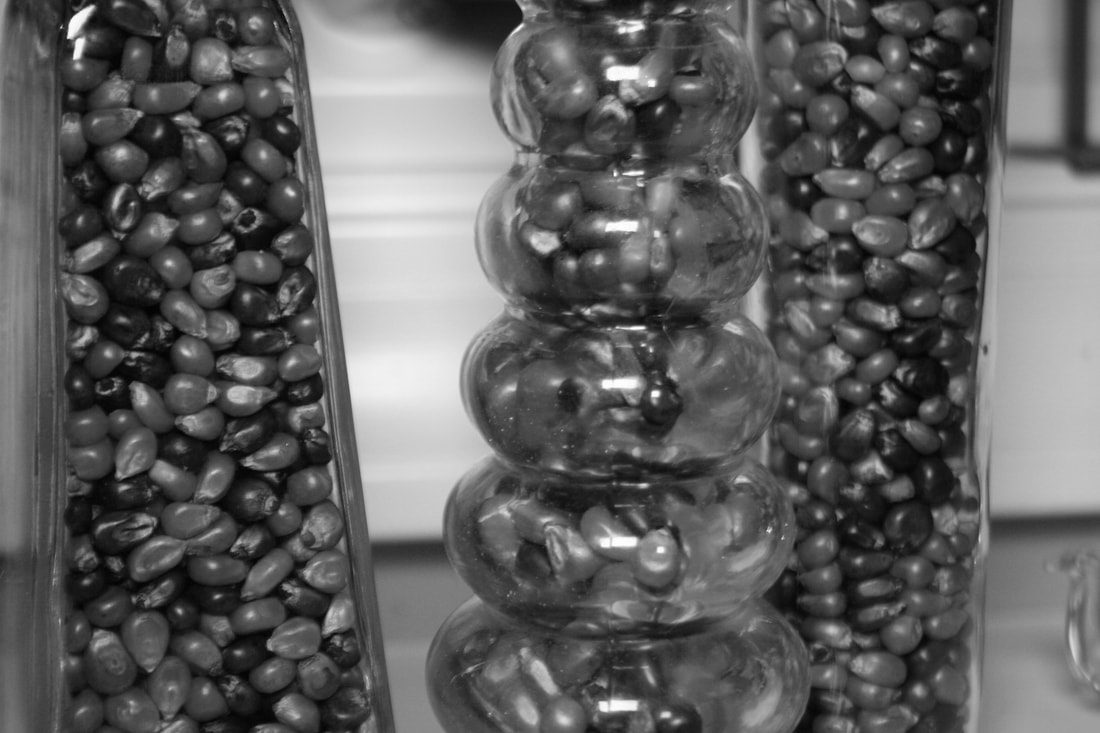
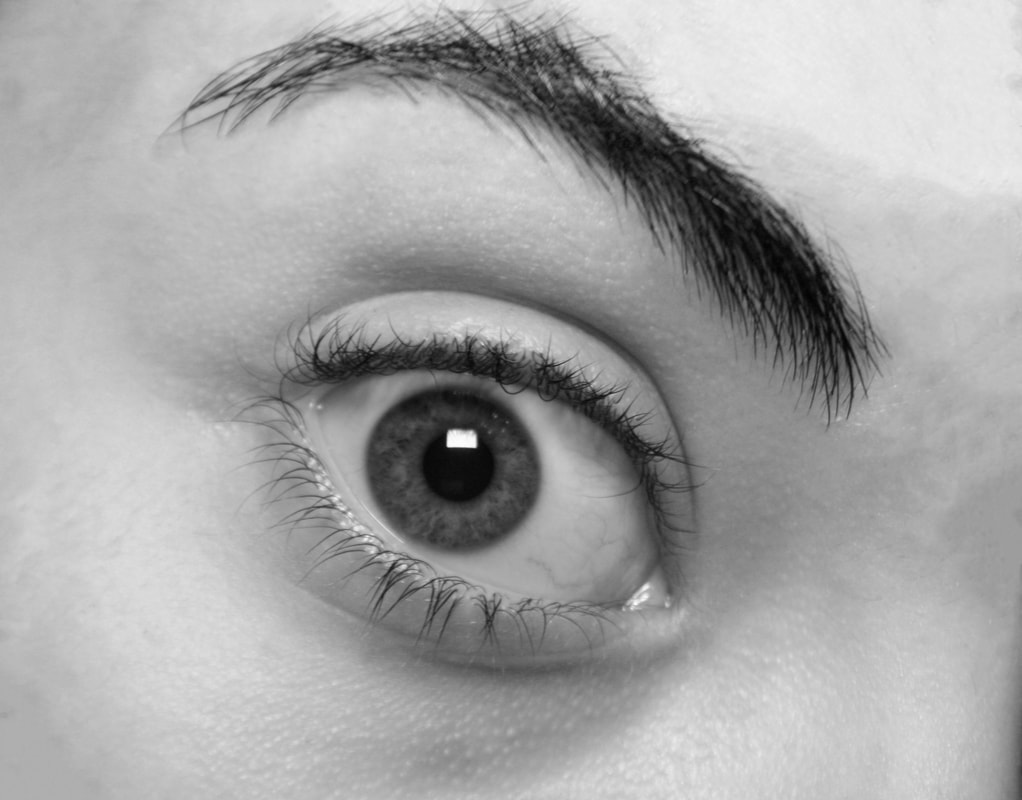
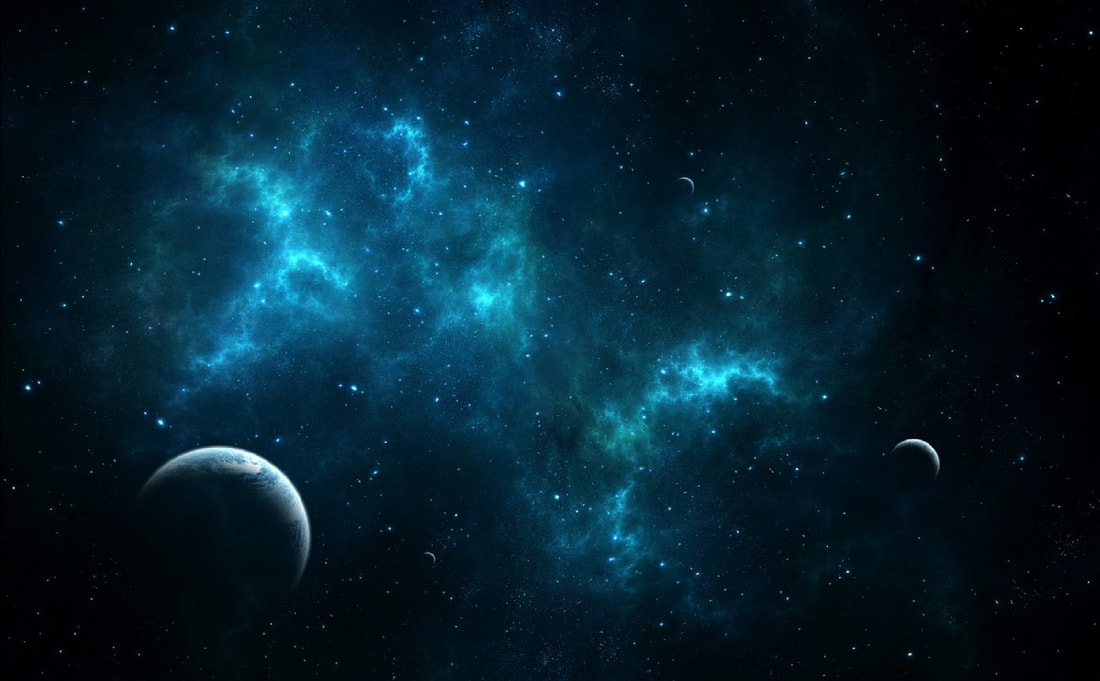
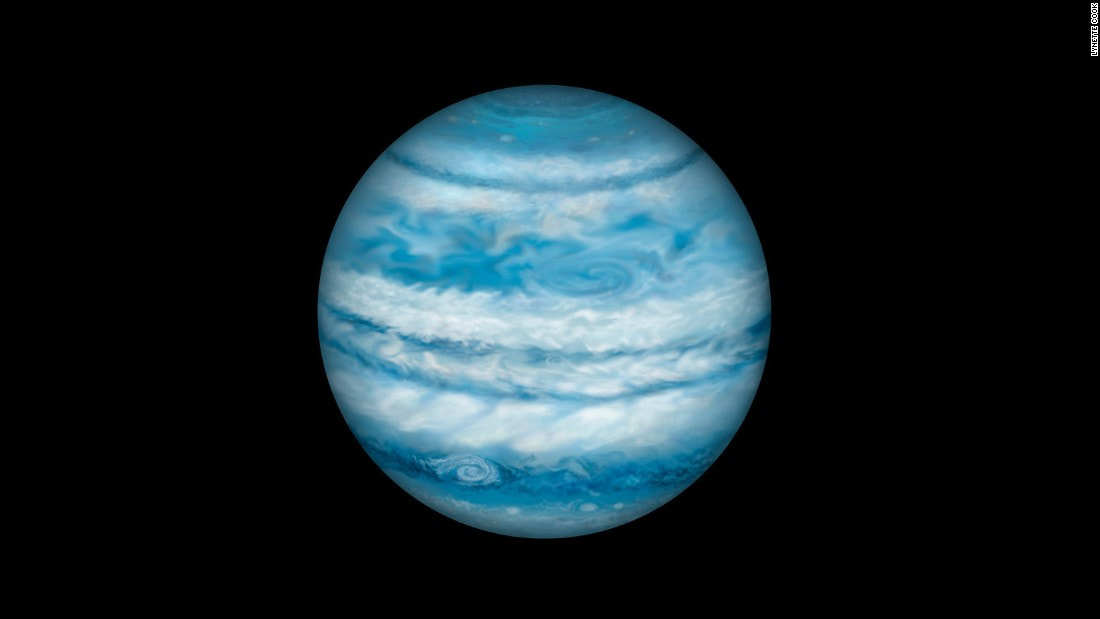
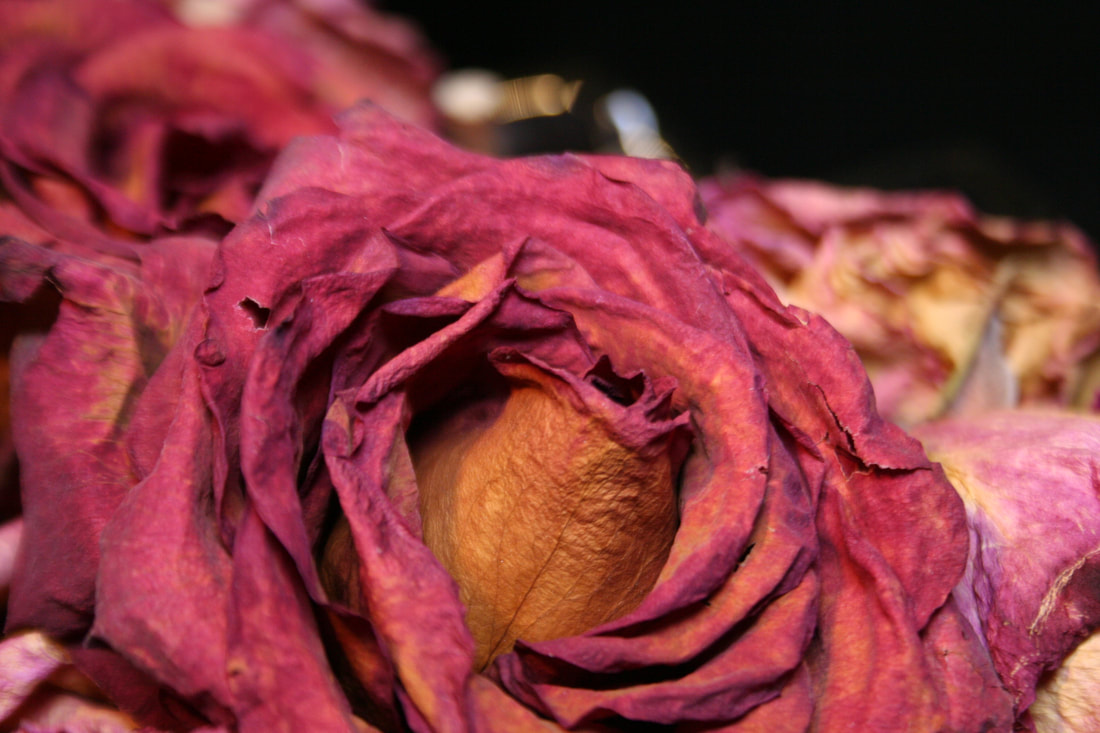
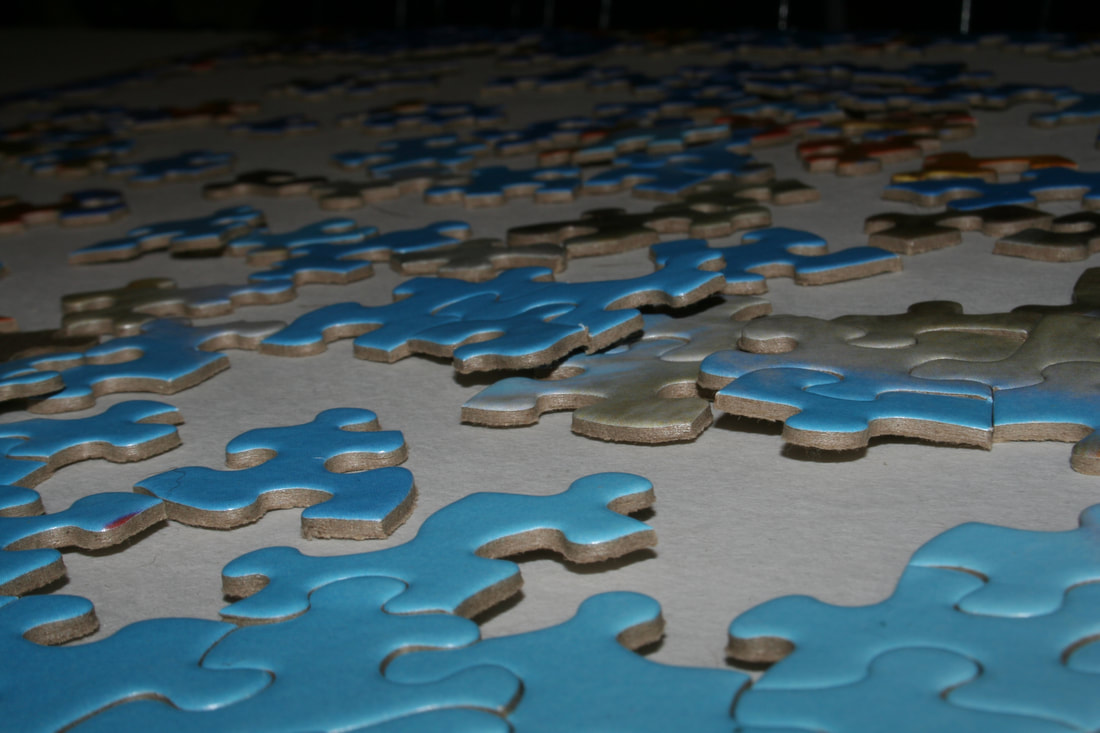
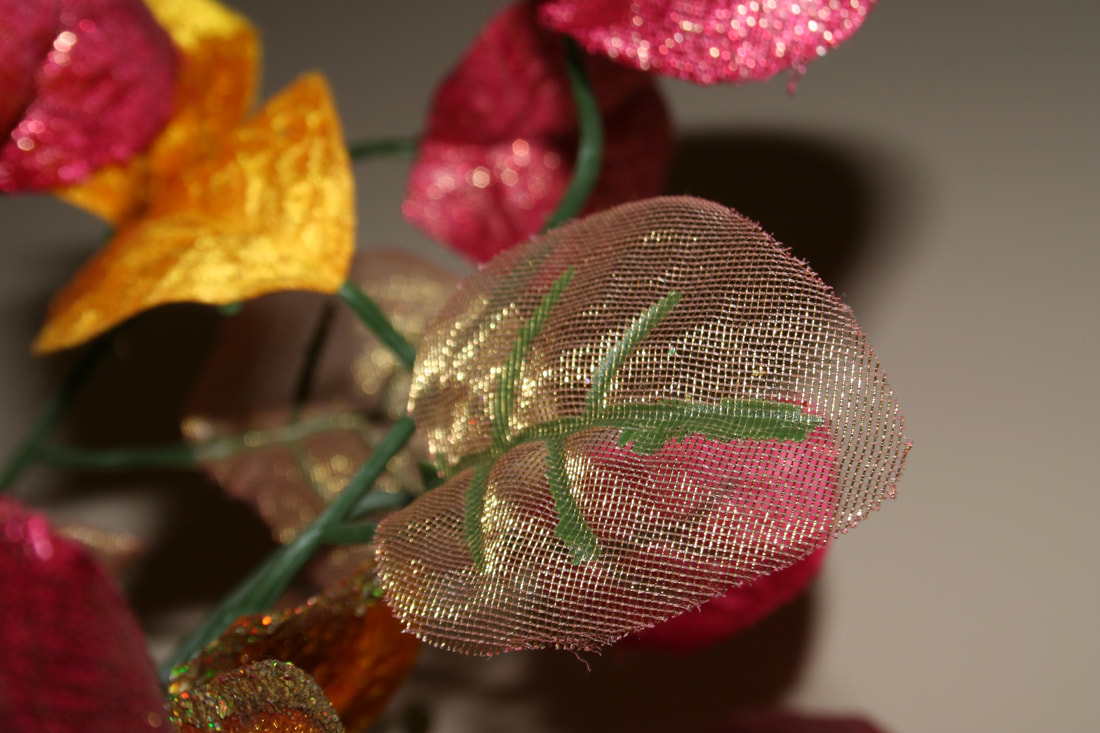
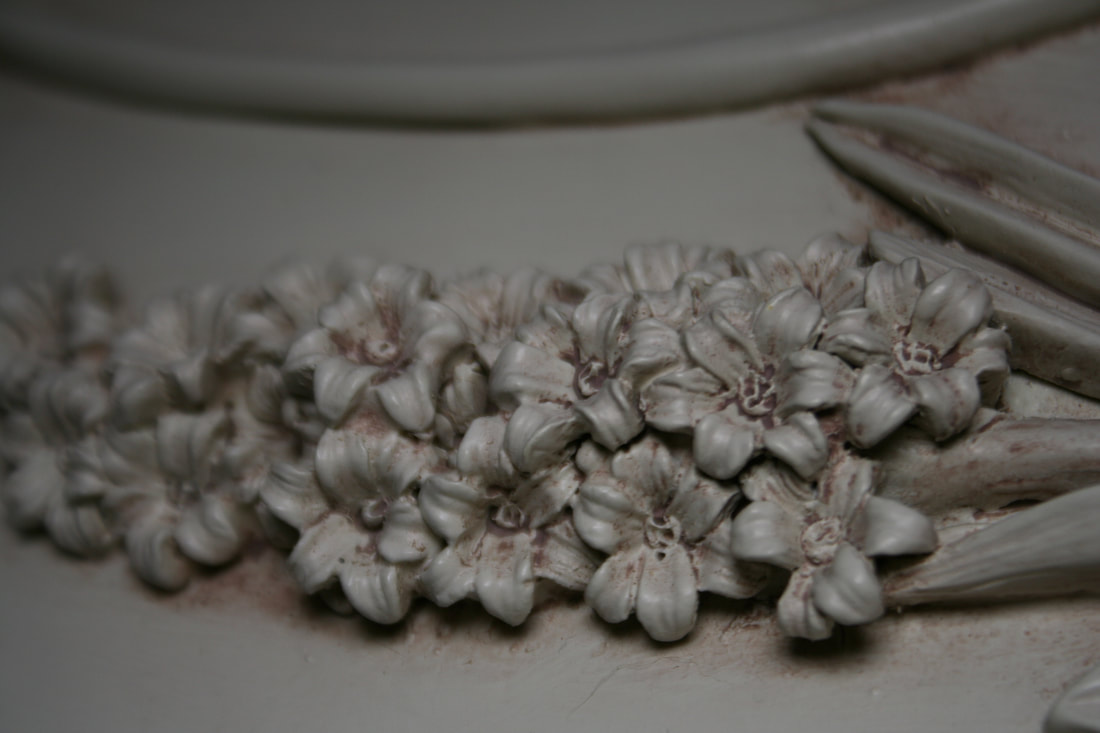
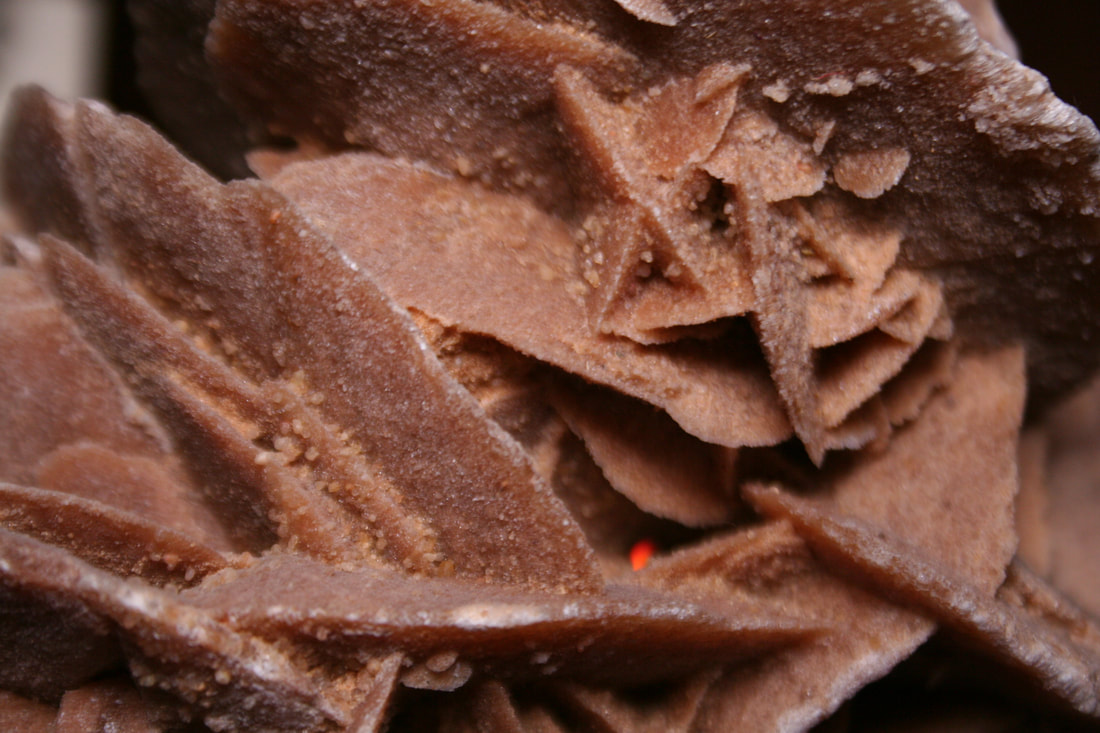
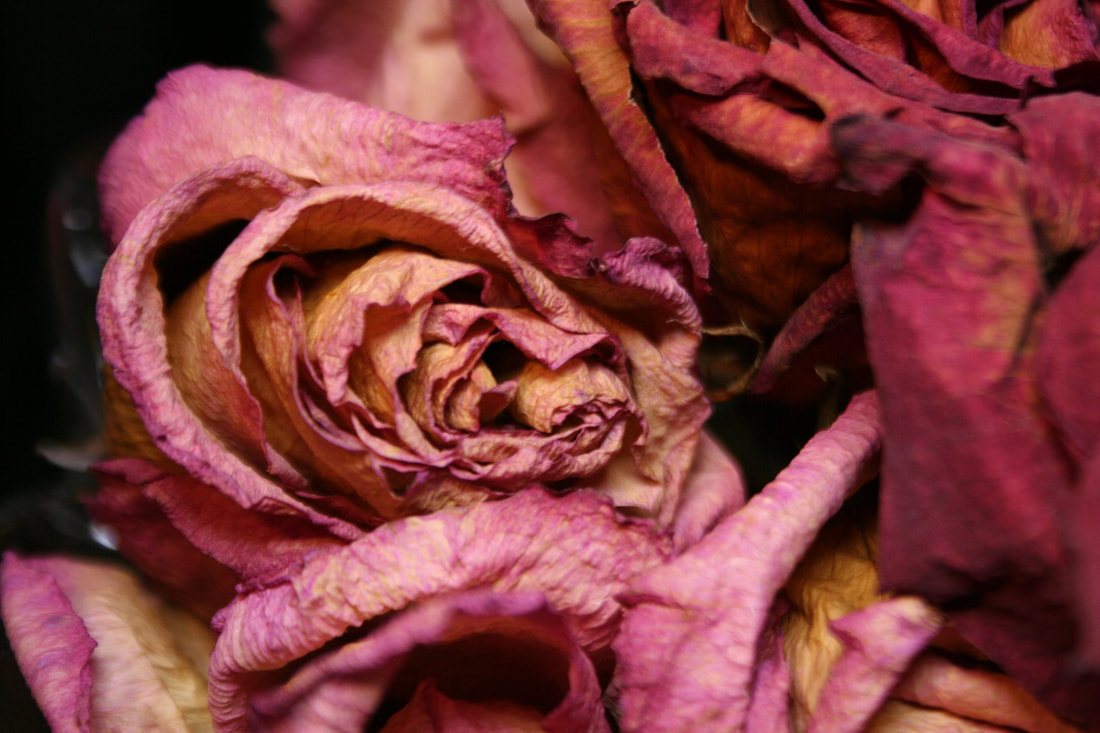
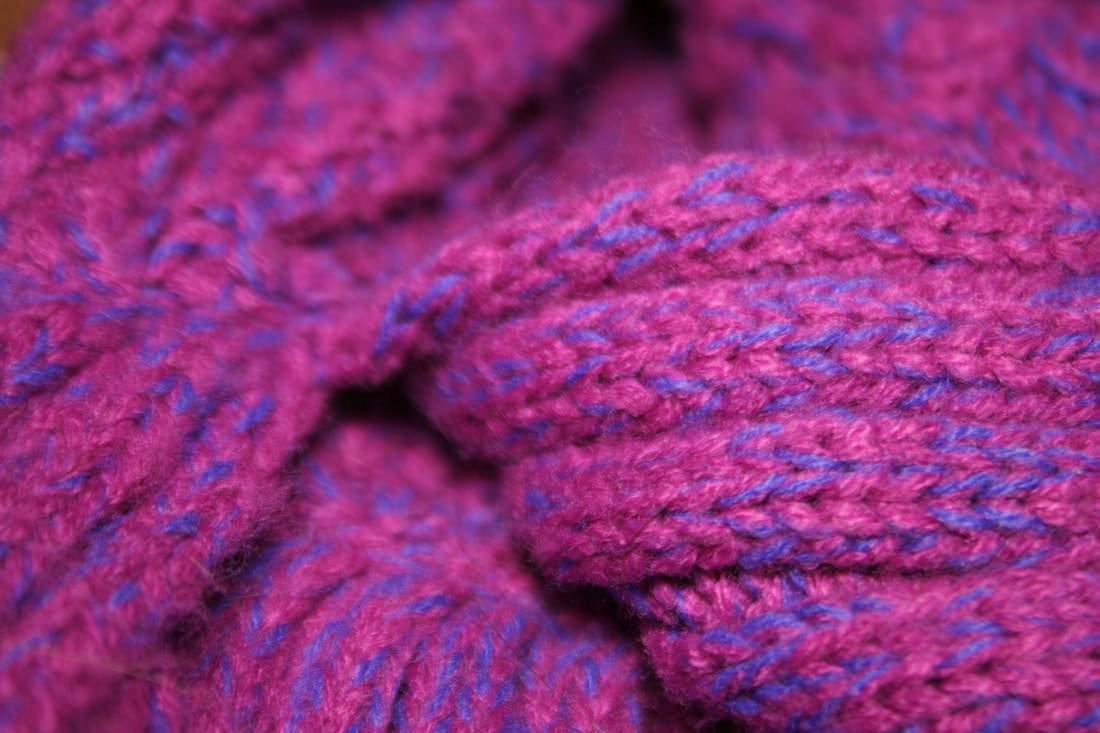
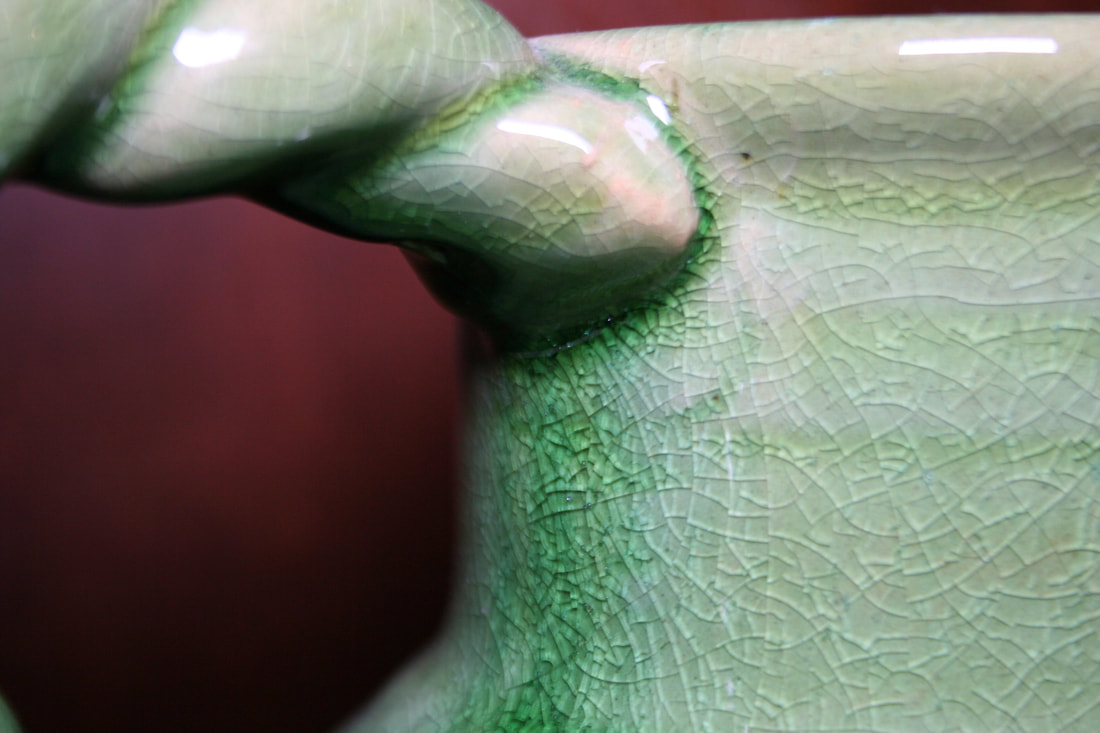
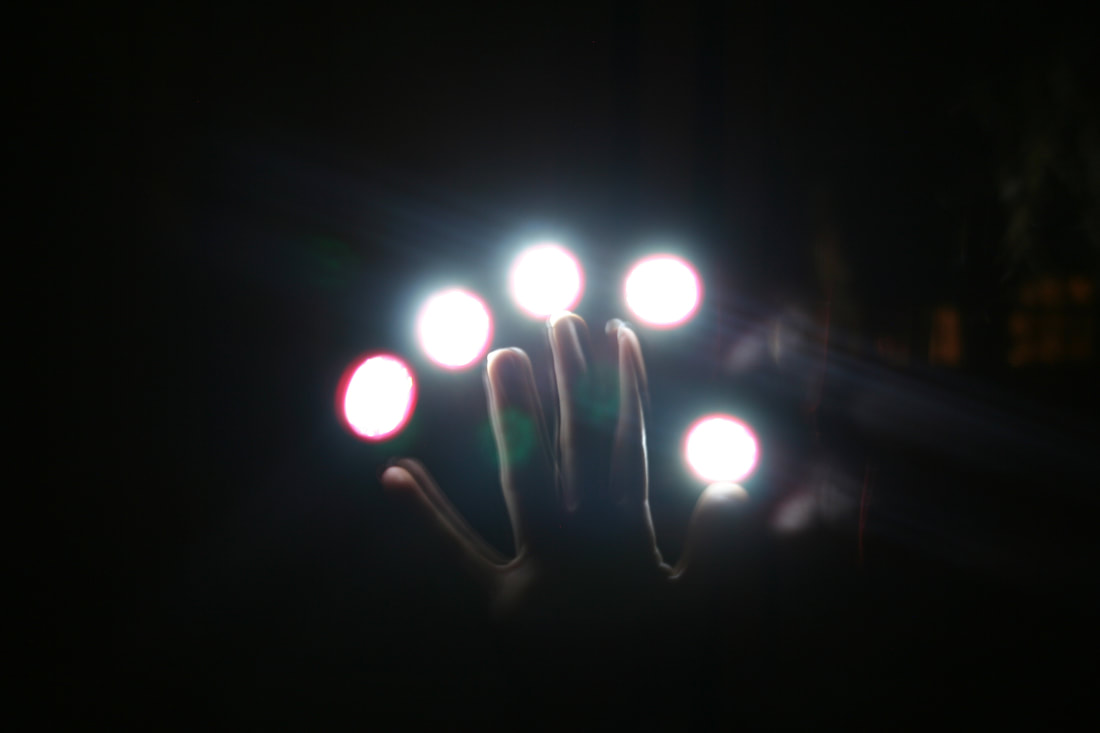
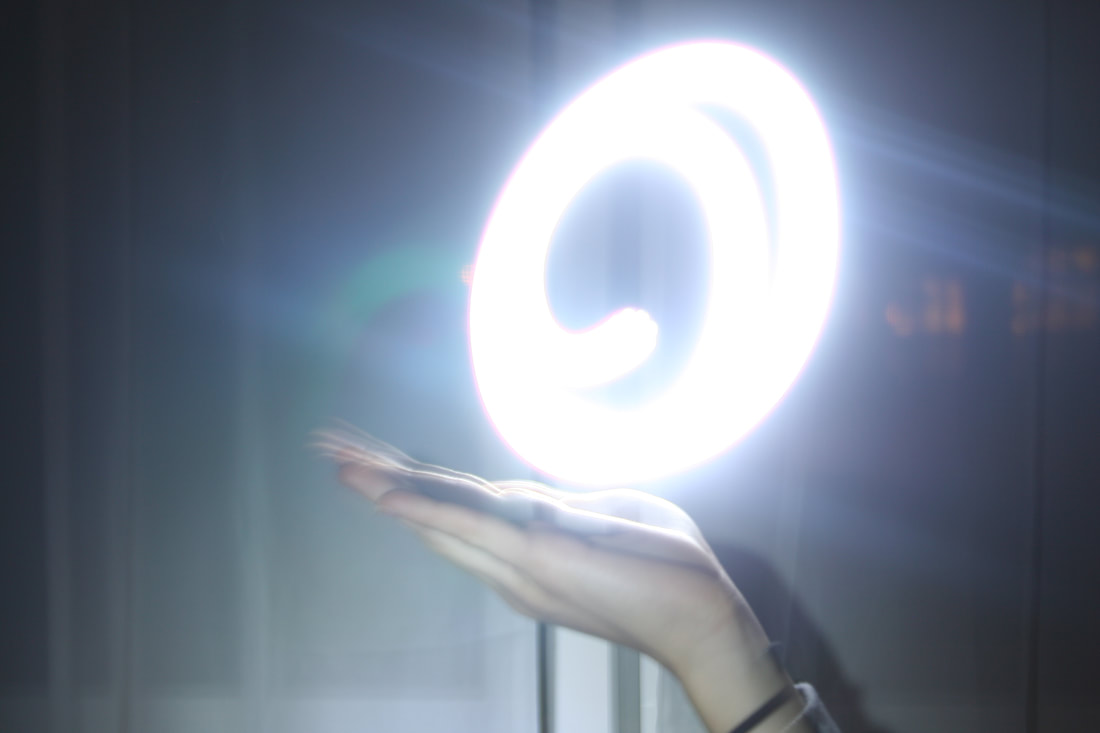
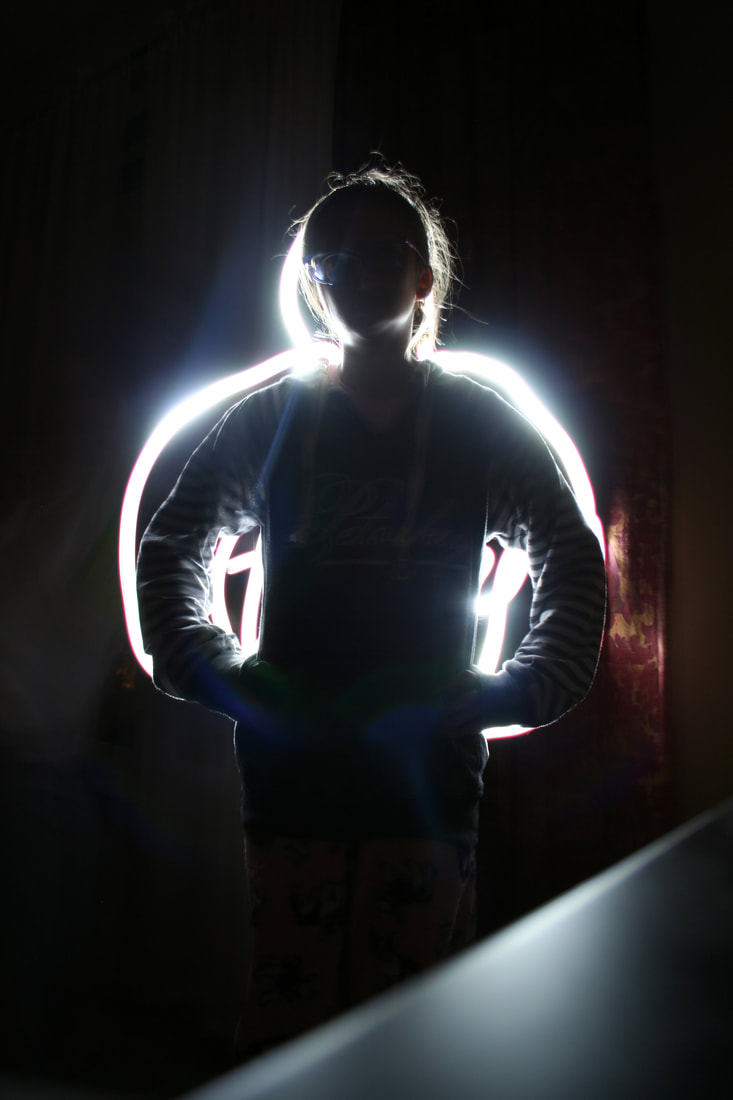
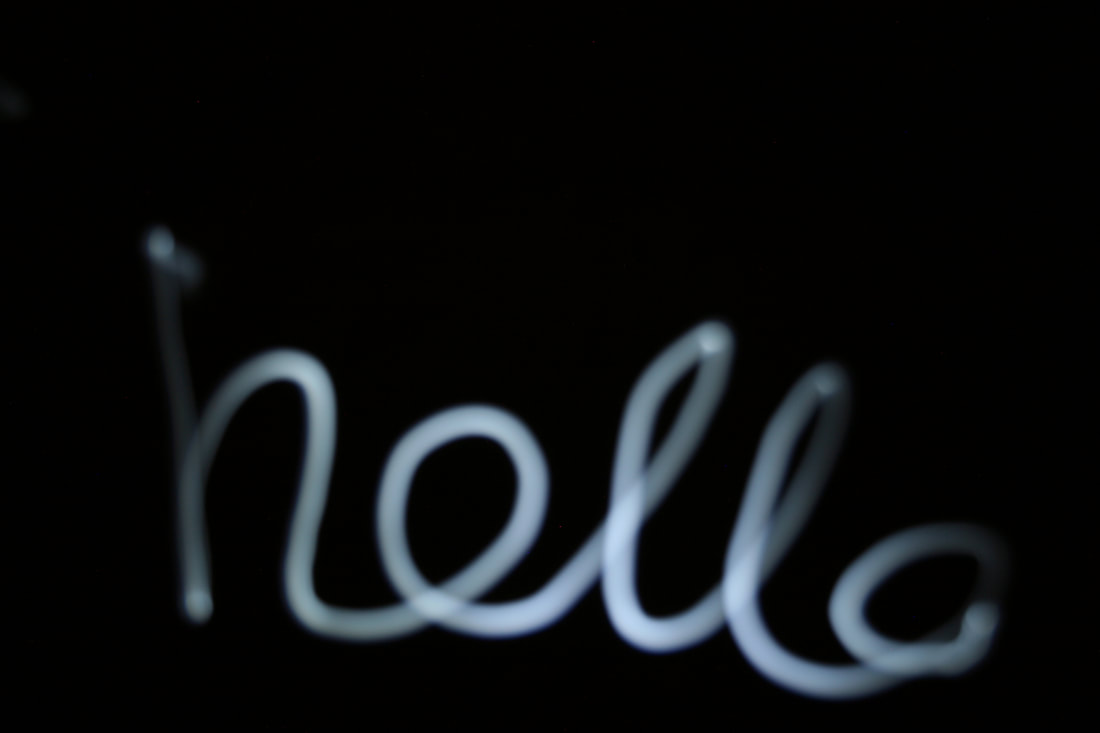
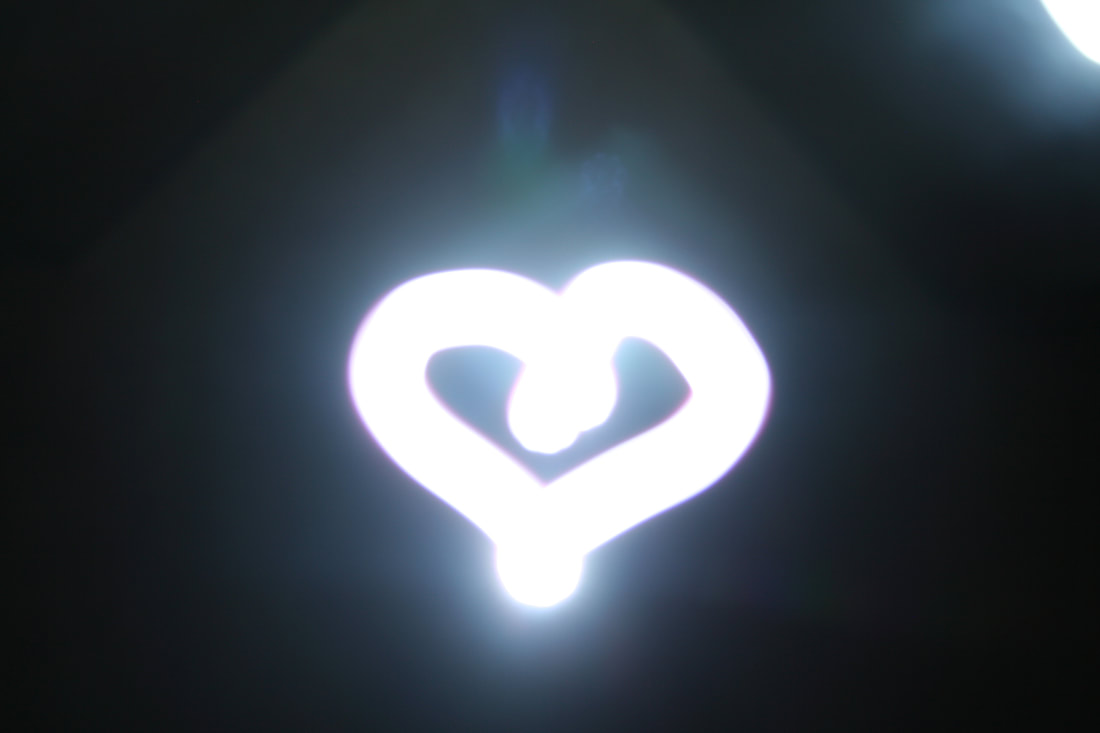
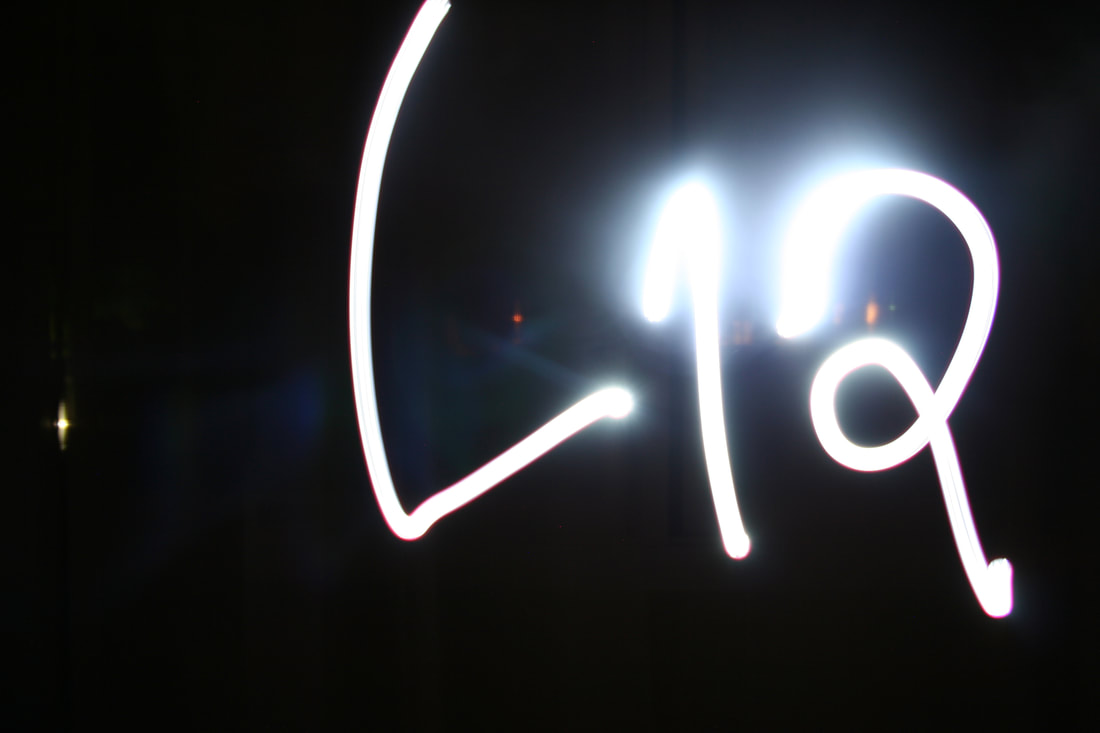
For this shooting assignment, I didn't have a lot of time to take photos so I decided to try playing around with some of my unused photos to display contrast and depth. I actually ended up using some of these photos for my photoshop tutorials as well. I wanted to emphasize subjects with interesting details or intricate texture. I wish I had taken some photos with the black and white setting on my camera so that I could have seen how it would turn out right at the scene.  Final Image (Photoshopped to add black and white adjustment layer and cleaned up blemishes with spot healing tool) Through this assignment, I got quicker with navigating photoshop and file folders on a mac.  Original Photo Shutter Speed: 1/30 second Aperture: f 10 ISO: 400 Additional Images: For this photoshop assignment, we were given the opportunity to search out photoshop tutorials and experiment with different techniques and tools. I really enjoyed being able to try new things and explore all the different projects. I found a lot of tutorials that I was interested in, but sadly I didn't have enough time to try all of them. Dash Of Color: For this assignment we had to change a photo to black and white and use the history brush to reveal an area of color. I've always thought this style was captivating, because of how well it directs the viewer's attention in a photograph, and adds a point of interest in the scene. To do this we desaturated the image and then painted over our spot with the history brush to reveal the camera.  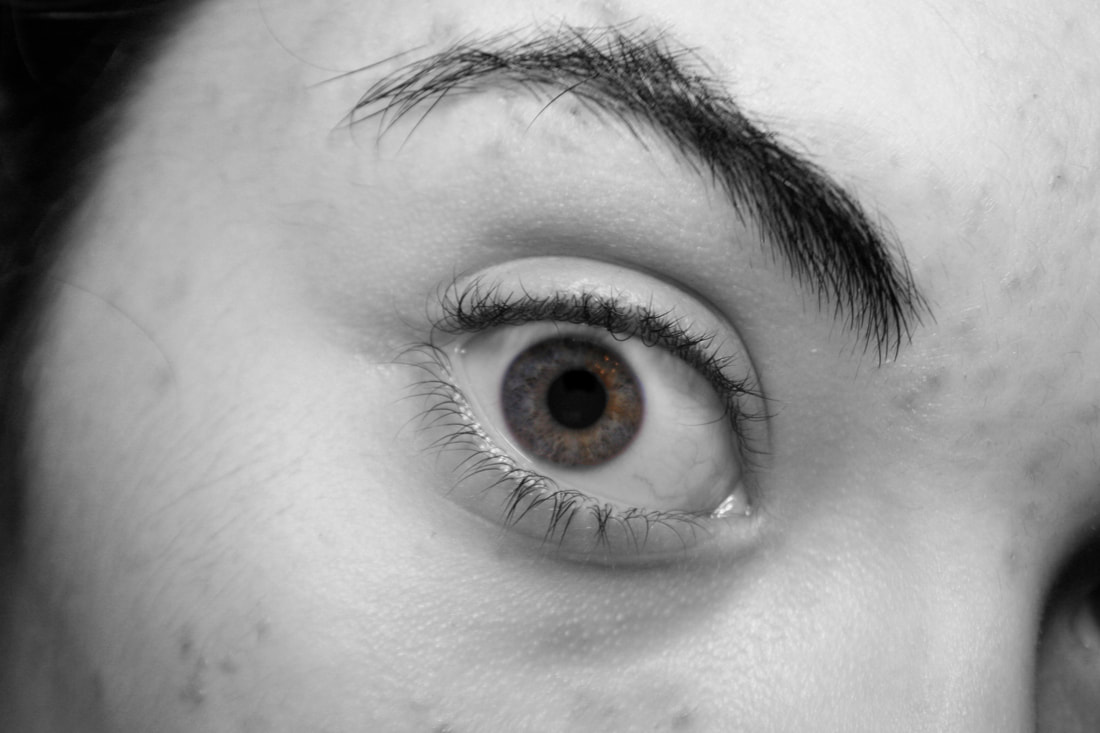 Polaroid: For this piece we used layer masks, groups, and layer stacks to create the illusion of an image composed of a pile of polaroids. I like the way this turned out and it's cool to understand how to to use layer masks because of all the different applications that they can be used for. 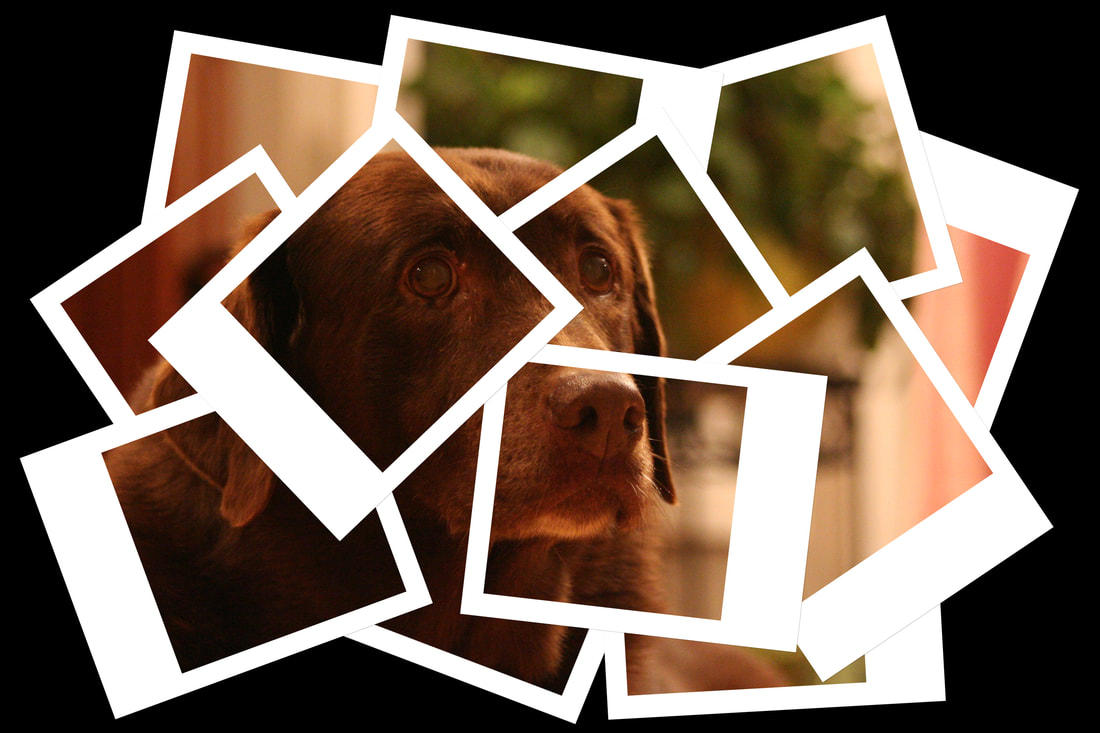 Galaxy Eye: For this project I used the layer mask, blur, screen, and filter adjustment tools. I had some trouble with this one because of how the colors were turning out, but I'm happy with the end result. I tried two variations with two different galaxy images but I prefer the blue one because it's not as busy, and looks more natural. 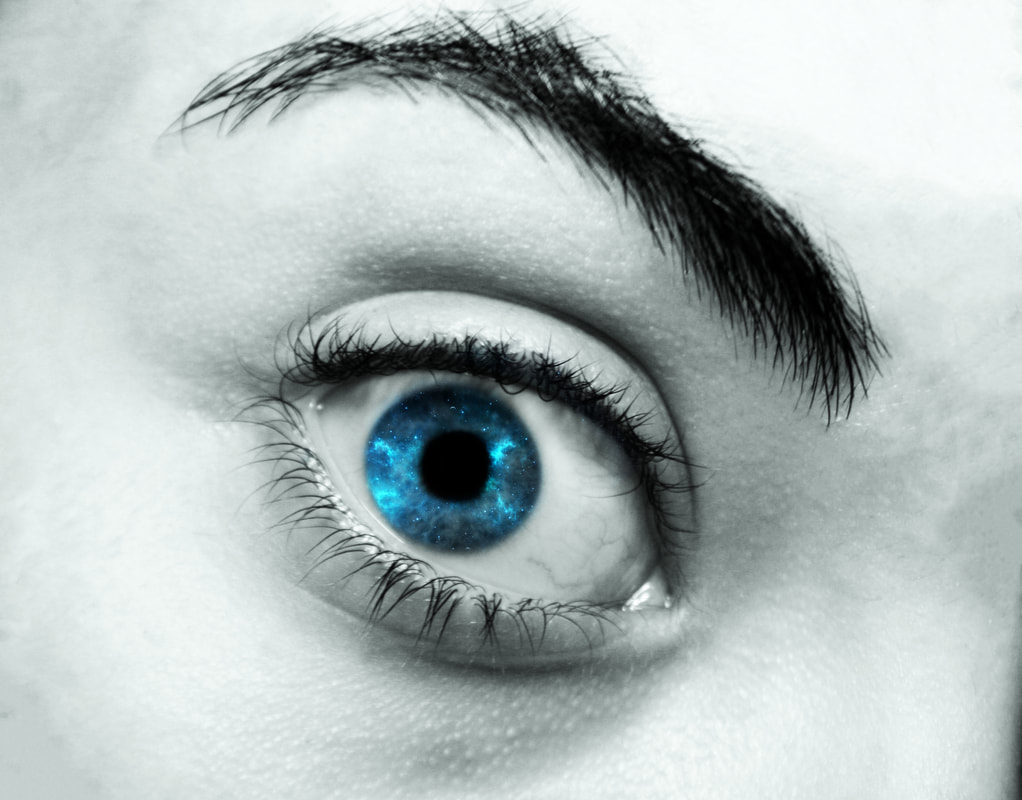 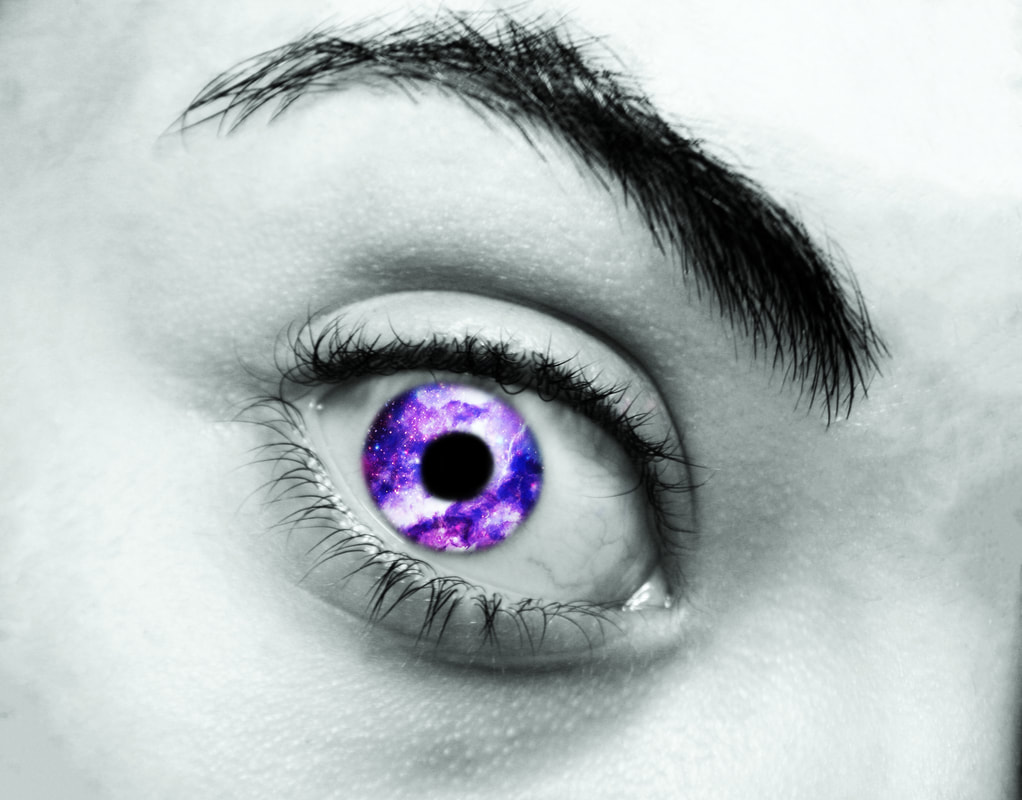 Low Poly: This project was the one that gave me the most difficulty because of how each individual triangle needed to be drawn. Originally I wanted to make a low poly image out of a face but realized that it would take hours so I decided to keep with the space theme and use a planet. I really love the minimalistic/3D polygon style so I was excited to try this, but I regretted not being able to try other tutorials. For this project I learned about the polygon lasso, grid snaps, anti-aliasing, and filter blurs. I'd really like to try this again and devote enough time to polish it up as much as I can. 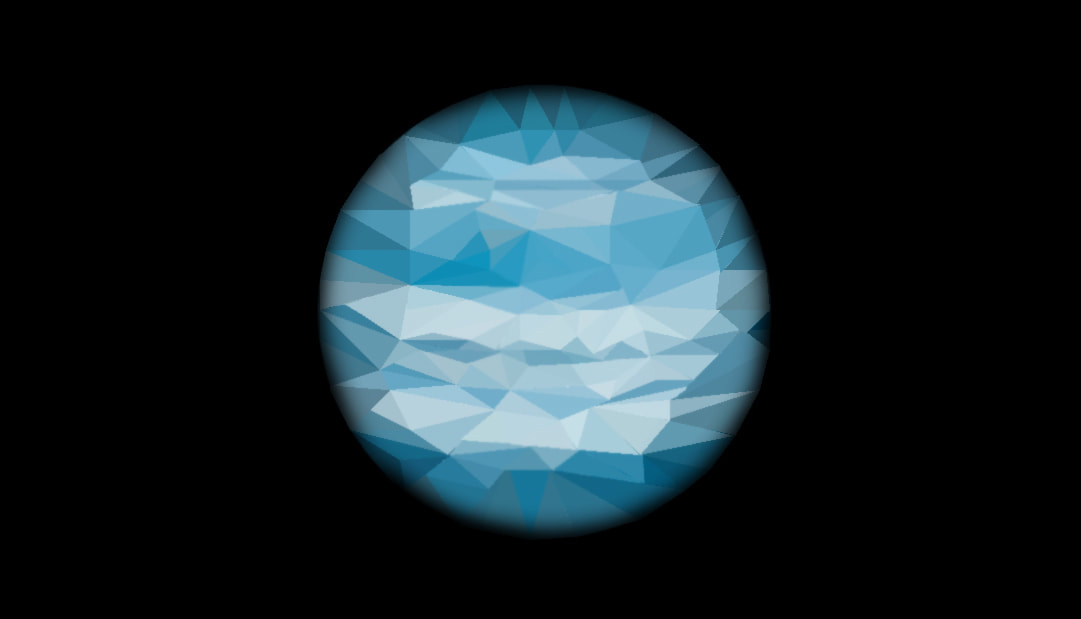 Source images and raw photos used: For our fifth shooting assignment, I wanted to take macro photos. I originally planned to take photos of flowers and nature outside, but it started raining pretty hard so I was unable to go outside. I decided to change direction and take pictures of objects around my house that I thought had an interesting texture. I enjoyed this assignment, and it was fun to look for things with unique details and try to capture them. I like taking pictures close up because it feels comfortable, and focuses the attention on the subject rather than the background. I found a lot of pottery around my house and I loved the way the cracked glaze looked so I took a bunch of photos of jars and ceramics. I ended up using this photo because I love the blue color and the mosaic Mediterranean design, as well as the negative space. 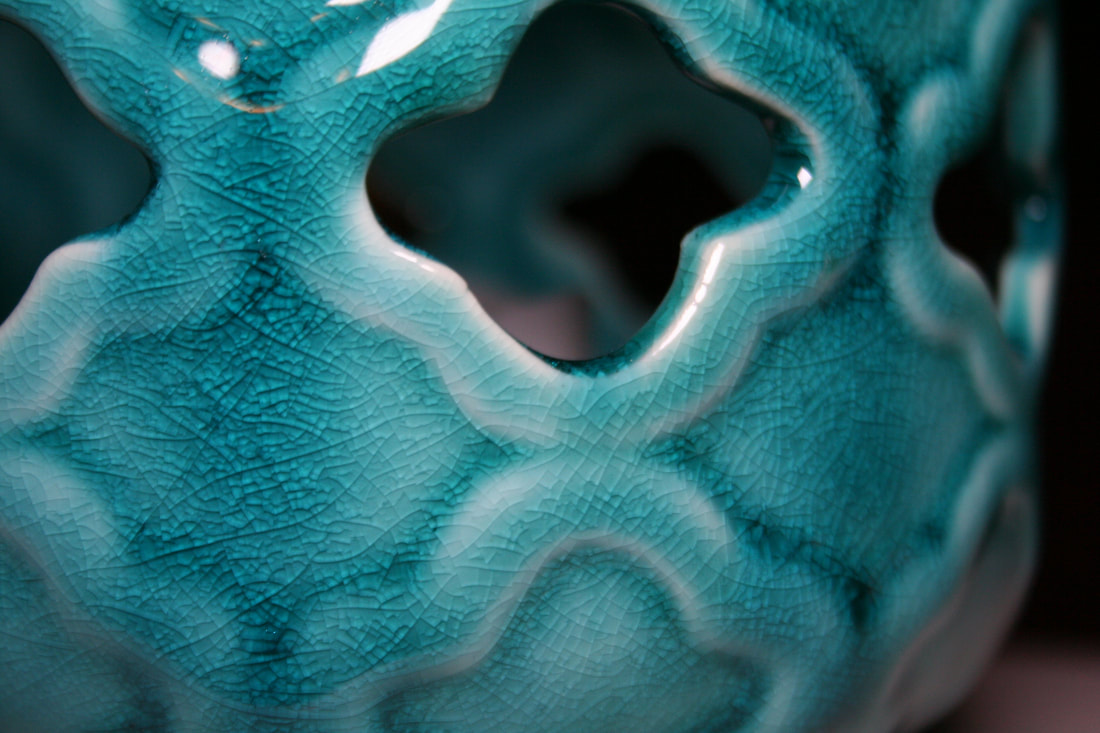 Final Product/Original Photo (No photoshop was done) Shutter Speed: 1/500 seconds Aperture: f 5.6 ISO: 400 Through this assignment, I learned about how the focal length, focus, and zoom of a camera work together to capture an image. I had to play around with the distance from my subject in order to get it in focus to capture the details, and I had some trouble finding decent lighting. Additional photos: For this photoshop assignment we had to merge multiple pictures of a subject into a single scene. I was really excited for this assignment because I had been excited to try something like this. Through this assignment I learned how to navigate between layers and use the layer mask to reveal/conceal parts of a layer to blend images.   For our fourth shooting assignment, I decided to try light painting. After seeing the demo, I thought it seemed really cool and I wanted to try it out for myself. I had a bunch of ideas I wanted to try out, but it was a lot more difficult than I anticipated. It's really hard to 'draw' with light, because you can't exactly see where you're moving so you have no idea how it's going to look until you look at the photo. For some reason, I could only find two flashlights so I could only work with two 'brush sizes.' I kept setting the shutter speed for longer than I needed to 'draw' the scene so I would end up sitting in the dark for 30 seconds. Photos kept coming out as too dark or too bright, or the shapes would look distorted. It was really frustrating, but I enjoyed it, and I'd like to try it again sometime. I think it'd be cool to try painting something like hieroglyphics or Japanese characters. I had to wait until it was night so that it was dark out and recruited my sister as a subject. She was irritated and tired but also thought that the pictures looked neat. In my best photo, I tried to make it seem like she was holding a ball of light, sort of magical. 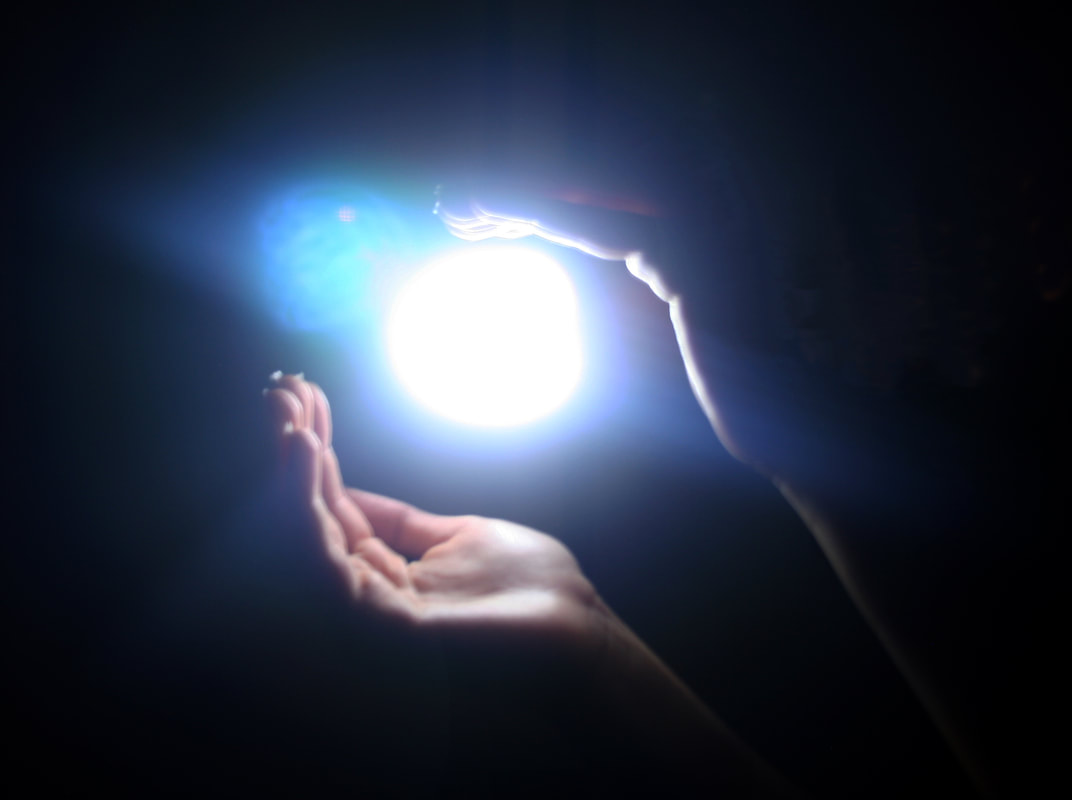 Final Product I photoshopped it to remove some orange light near the right side, ad adjusted the levels to make the light and hands more clearly visible. 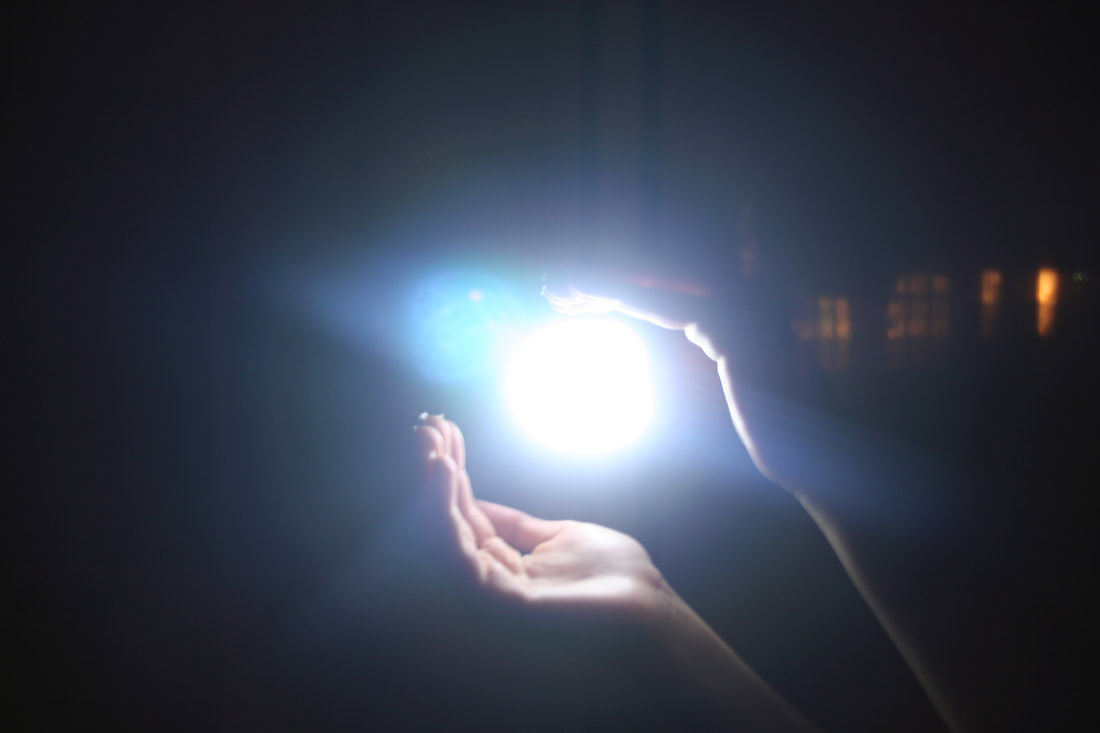 Original Photo Shutter Speed: 15 seconds Aperture: f 4.5 ISO: 100 Through this assignment, I learned a bit more about how light behaves and affects a camera. I learned how to control how much enters the camera and how to manipulate parts of the photo through using a long shutter speed. Additional photos: For this assignment, we were supposed to 'change the context of the school.' I thought it would be funny to photoshop Doodlebob towering over the building, erasing it with the magic pencil. I'm not particularly a huge Spongebob fan, but I thought the idea would provide for some interesting opportunities. I actually had to replace the sky with a different image so that I could "erase" the school building, and I used the blur tool often to make the edges seem more natural and realistic. If I could have had more time I would have liked to put some eraser shavings by the grass and play around with shadows, but overall I'm happy with how it turned out. I used to play around with GIMP a lot when I was younger, so I have some background knowledge on how to use programs like photoshop and the different tools. However, photoshop is much more advanced and intelligent so it was really easy to work with to get the results I wanted. 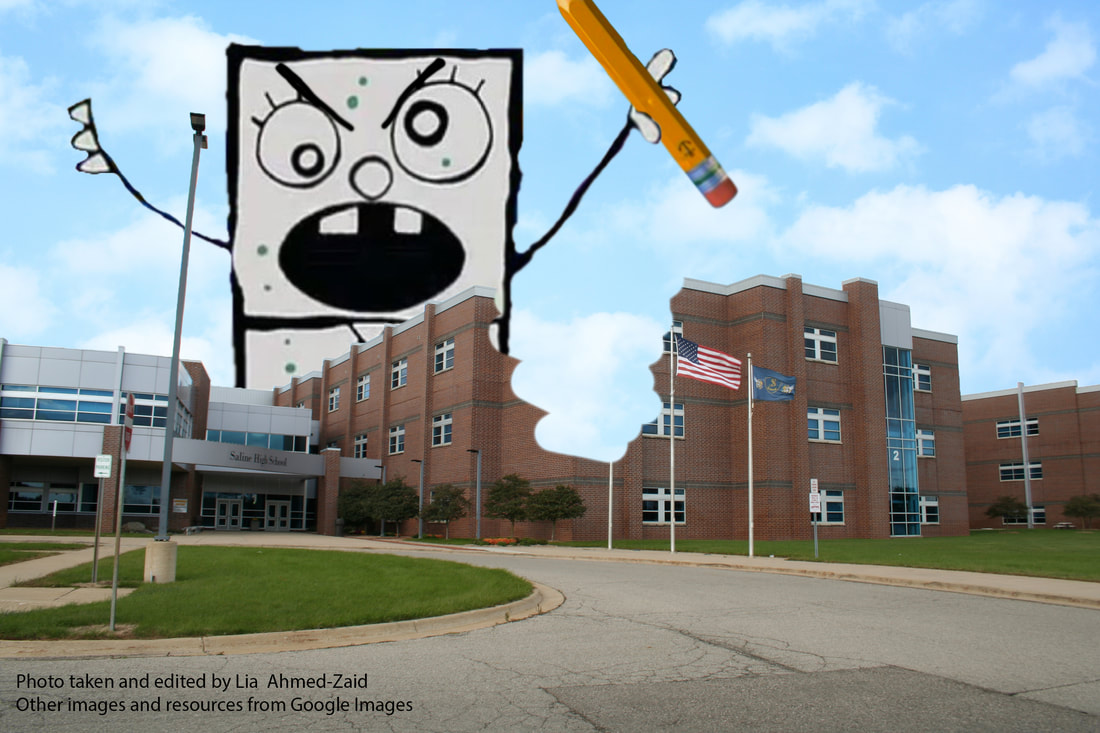 Overall, I really enjoyed this assignment and had a lot of fun with it.
|
|||||